
Its made entirely out of black ABS pipe, the barrel is 3" pipe and about 5' long. The combustion chamber is 4" pipe cut into little pieces and cemented together with 4" couplings so its actually double walled for more strength. The end of the combustion chamber has a schrader valve to fill it and blow it out after each shot, and I put in a little air compressor water drain valve to open and let air out when stuffing a potato down the barrel. I bought a bunch of metal tubing and welded up the stand too, it feels pretty sturdy. I hate math so I didnt really calculate anything, I just went with my little picture I drew up and Im hoping it works- I havent fired it yet. I spent about $160 total on everything, ABS, coil + plug, metal, paint, fittings...
The ignition is just a $10 auto ignition coil and a spark plug wire I had laying around, with a spark plug in the combustion chamber. It sparks when I touch the wire leads to a 12v car battery so I know that works, the spark doesn't seem as big as I thought it would be though... heres some pics


Heres my questions since Ive never done this before:
1.Has anyone built anything similar to this? -and how did it work out?
2.What should I do first when putting propane in it, start with a little and see how it fires, then increase the amount 'til it shoots the best?
3.Can anyone see anything wrong with it that I might want to change before I fire it for the first time?
Thanks for looking


 </div>
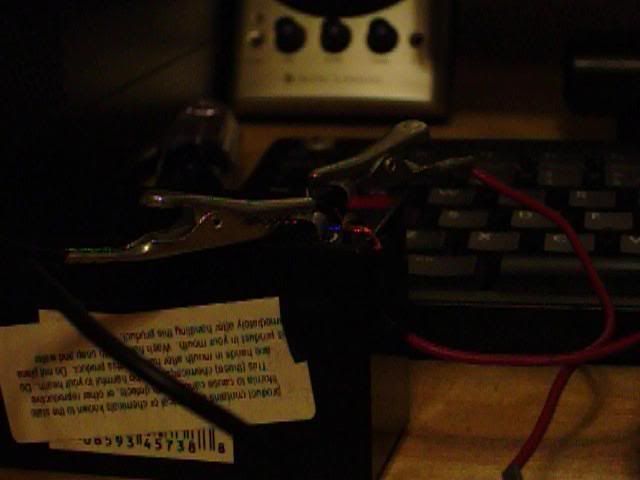 </div>
