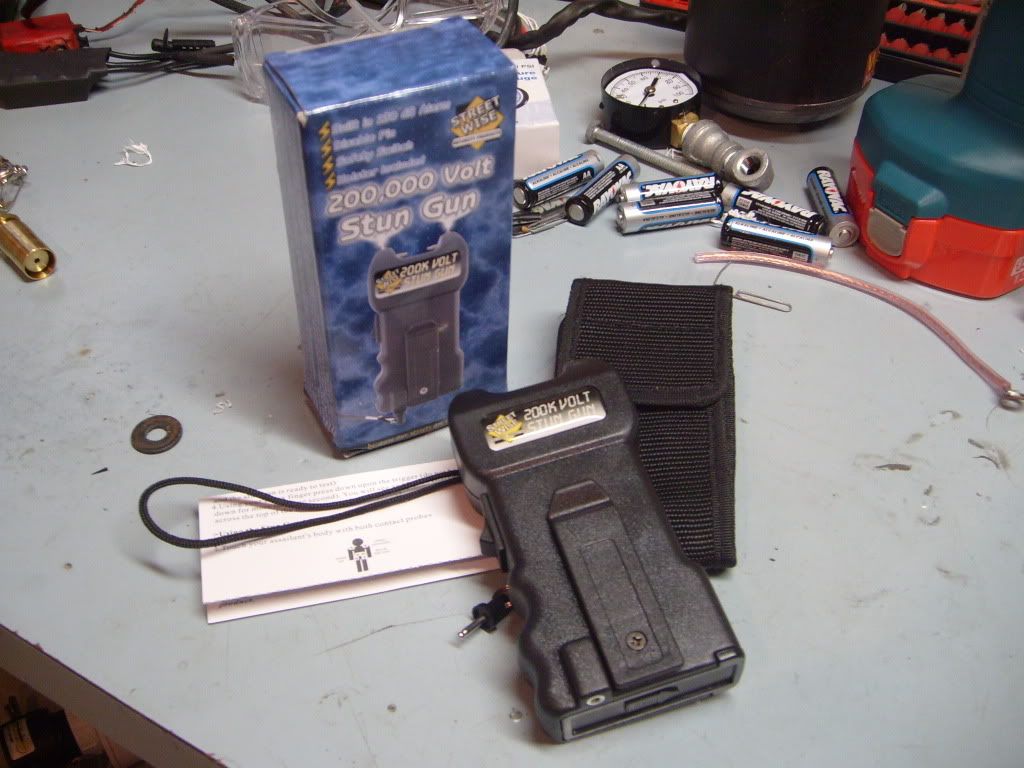
To do this, to my knowledge, you need a stun gun with an alarm. I have used a couple stun guns from ebay that are about $20 shipped. It is advertized as the "street wise" stun gun and has "200,000v", "built in 130db alarm", and a disable pin.
The basic procedure to mod one of these stun guns is as follows. First, put a battery in and turn it on. You will hear how obnoxious and annoying the alarm is. Spark it a few times to make sure it works then remove the battery.
To open the case, I took a dremel cut off wheel and cut two slots at the seam near the bottom of the case. I then carefully used screwdrivers to pry the case in half.
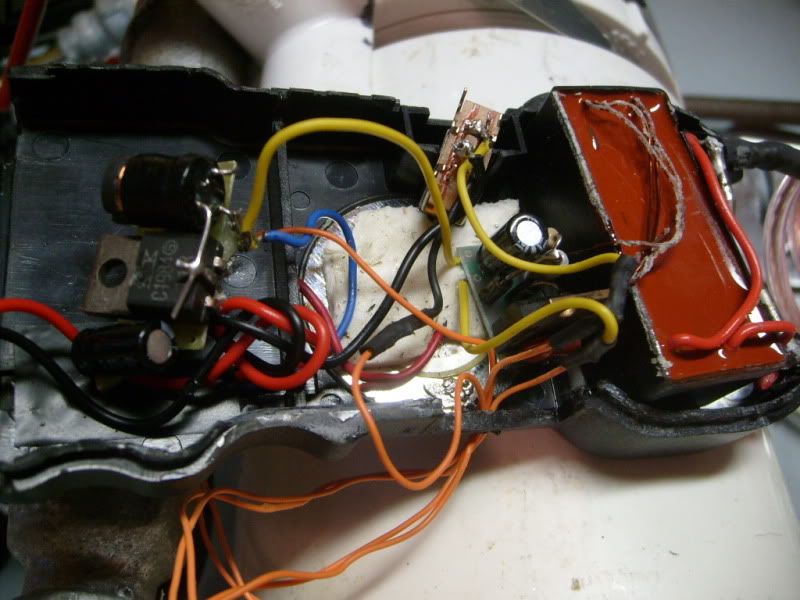
It should look something like this after you open it up
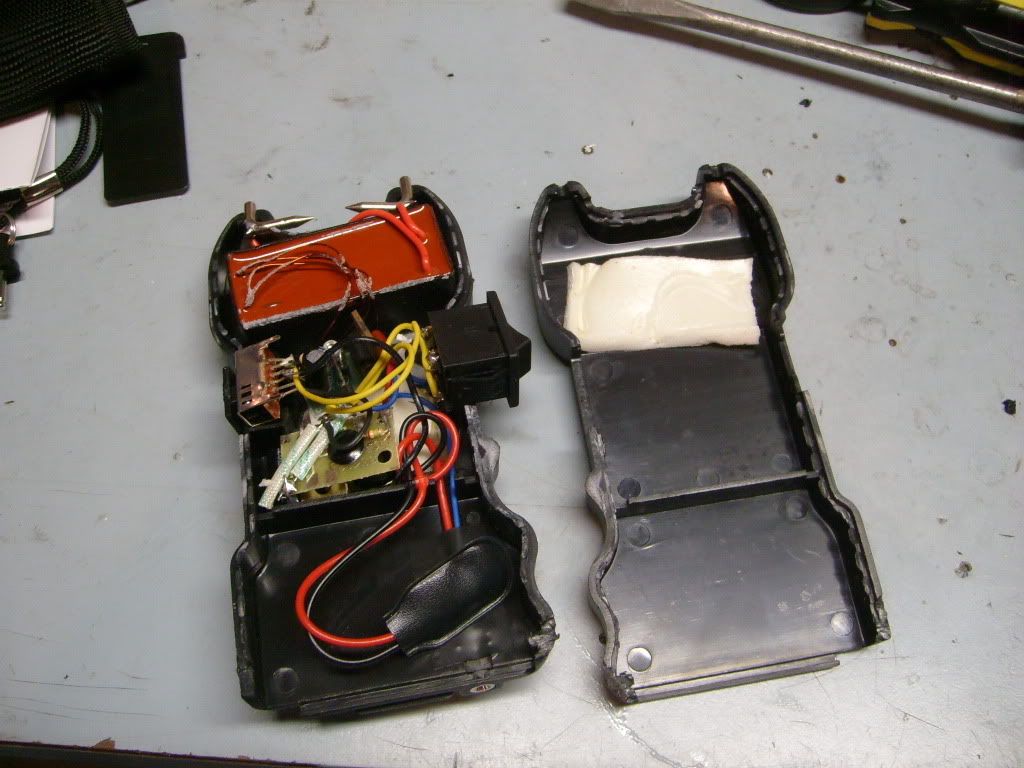
Now disable the alarm. I cut the red wire that runs from the alarm circut to the buzzer. If that doesn't work for you, then keep messing around with things until the alarm is no more.
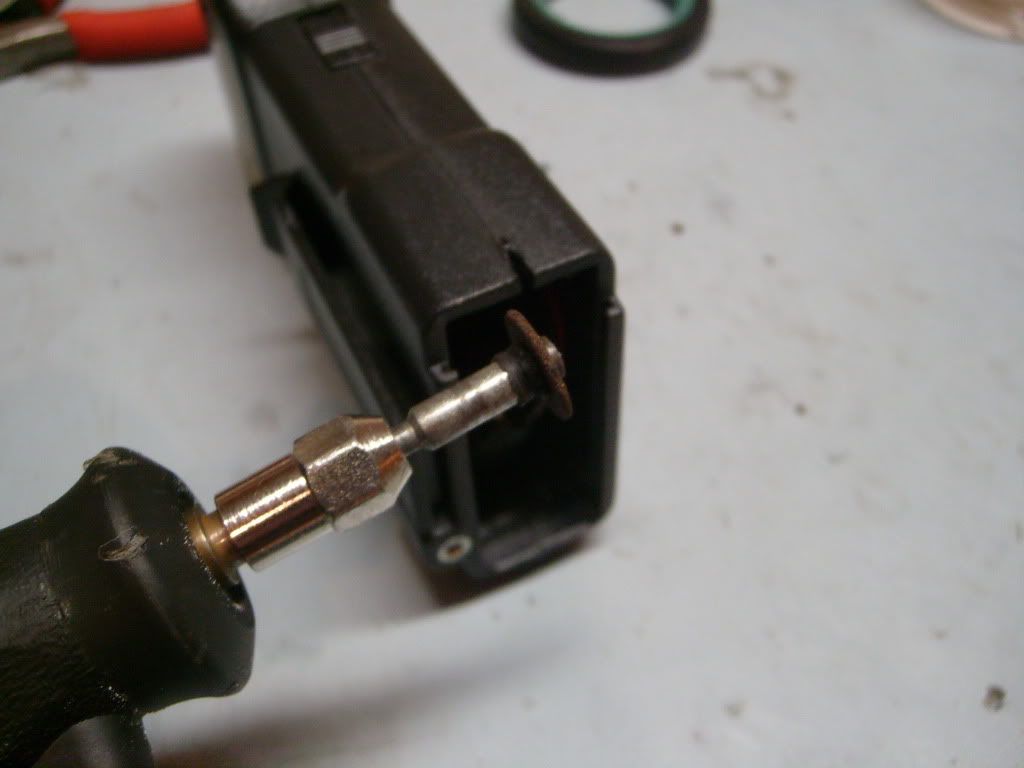
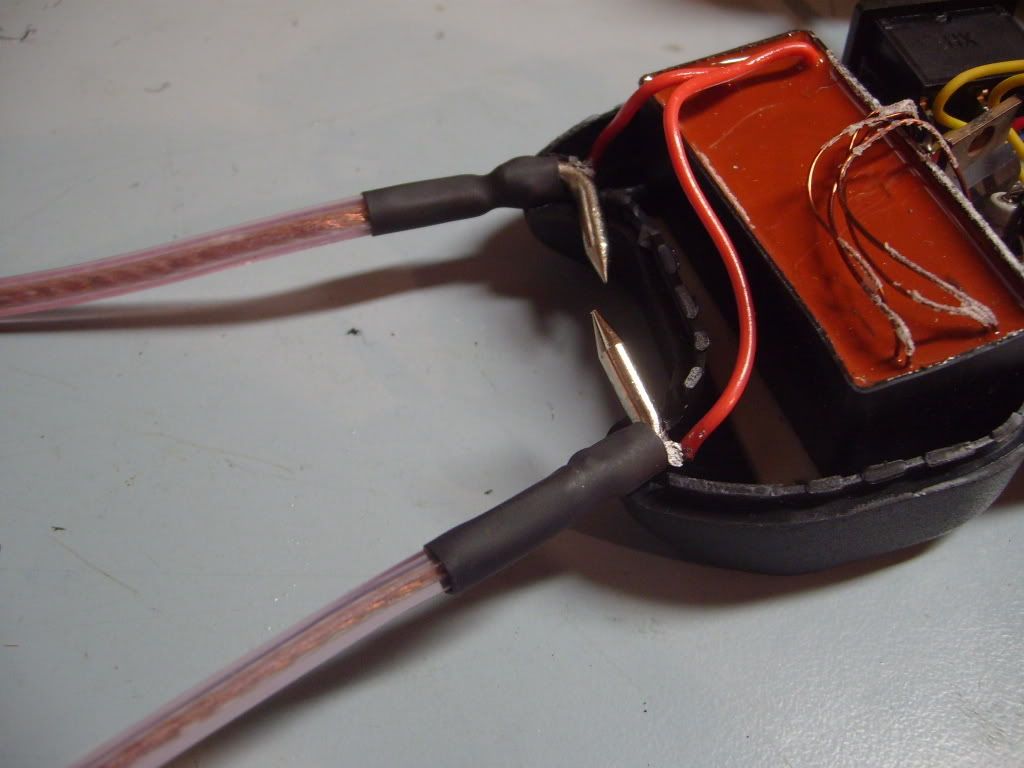
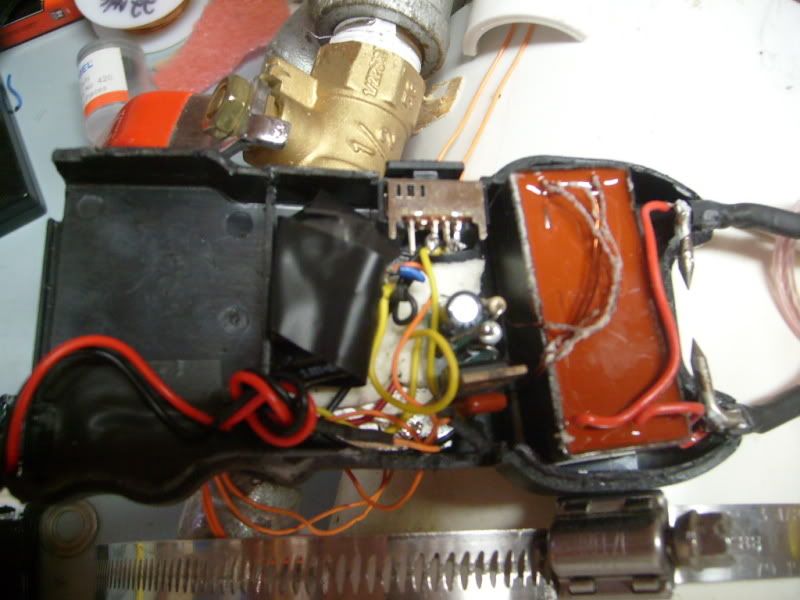
Now solder your high volatage wires to the ends of the electrodes. The smaller wires leading to the electrodes might come un-soldered. If they do, just finish soldering your HV wire then re-solder your smaller wires. make sure everythign is solid! Use shrink wrap or other means to cover your solder joint. You may need to hack at the case a little to get it to fit back together, but once you get it back together super glue the electrodes to the case so your default gap doesn't get messed up. I recommend leaving your default gap or else you might fry your tazer.
I used cat5 wires for all of my modding. I don't know if it's best but it's what I had lying around and it was small enough. It works fine for me, but it's a little more difficult to solder then stranded wire.
Now you need to find your constant voltage source. CAREFULLY plug in the battery and, using a multimeter, find a constant voltage source. For me it is 8v. I found my 8v from the black wire going into the alarm circut and the joint where the blue wires goes away from the alarm circut. I unsoldered the black lead from the alarm circut and attached one of my fan wires directly to it. I attached my other fan wire to the remaining joint on the alarm circut. In doing this, you will bypass the alarm circut. You can remove it if you wish, but I kept it in there for $**ts and giggles.
The fan is running off of 8v, and not the rated 12v, so it isn't as strong as it could be, but for me it turns fast enough to do it's job. That would be the only downfall to this mod, the low voltage to the fan.
The next step is optional, but it's really cool if you do it. There are two wires leading to the momentary rocker switch that is used to spark the gun. I just soldered extensions onto those wires and led them to a momentary usually-off button switch. I put it at the end of my handle. It adds a sense of BA to your cannon.
I'm sure I lost you through all that, so here are some pictures.
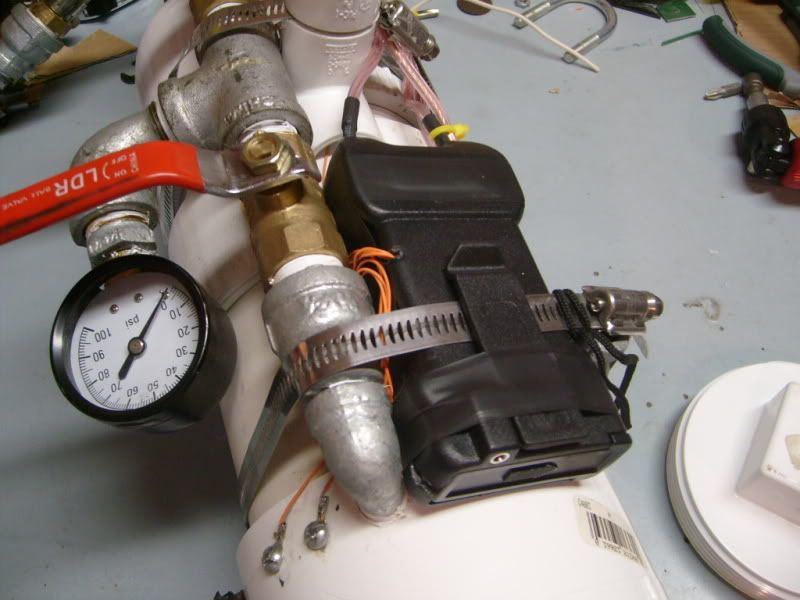
finished
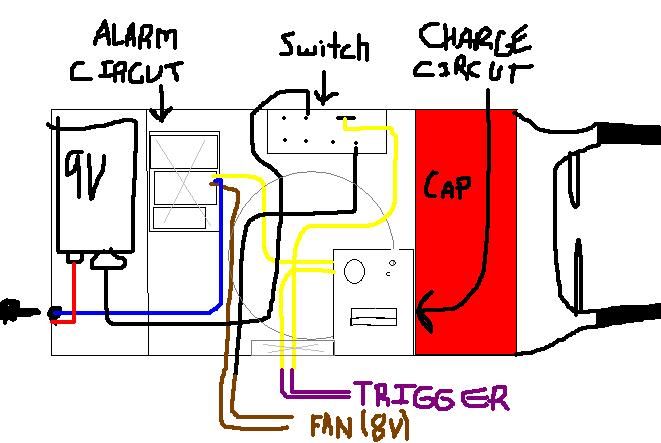
Here is a schematic I tried to make. Let me know if you see anything wrong.
Here's a short video. The switch has 3 positions. Off, Spark On, Spark & Fan On. First I turn it to just spark then I turn it to spark & fan. Enjoy.
http://s345.photobucket.com/albums/p382 ... erdemo.flv