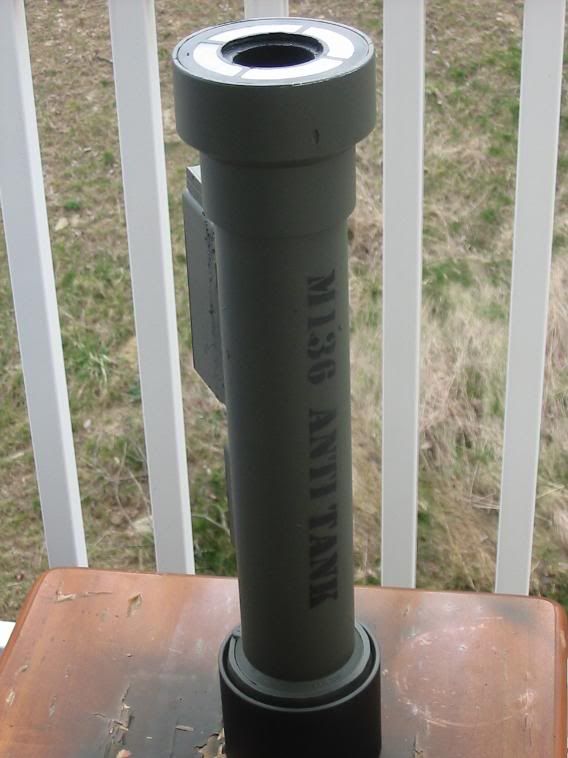
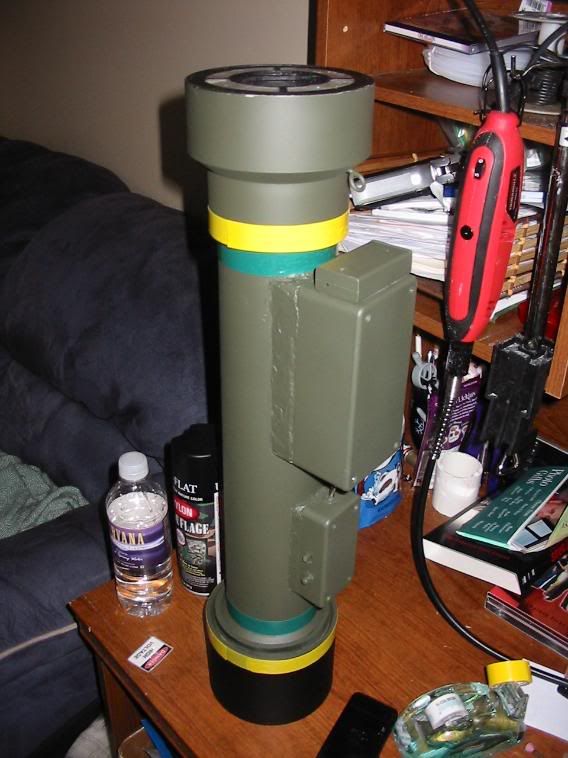
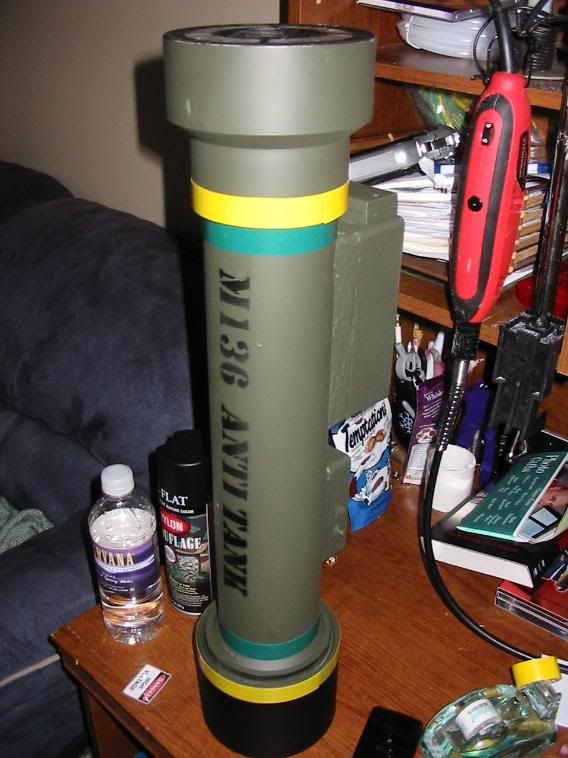
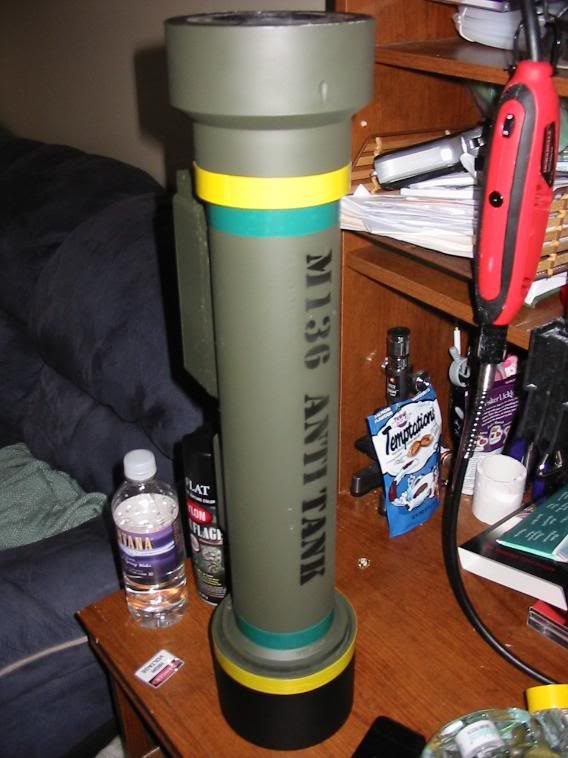
My AT4 M136 Anti Tank Weapon


rp181 I posted a demo on page 2 including a video clip using a loop for the ionising wire and capacitor contacts 1-2mm apart 
-
jimmy101

- Sergeant Major 2


- Posts: 3210
- Joined: Wed Mar 28, 2007 9:48 am
- Location: Greenwood, Indiana
- Has thanked: 7 times
- Been thanked: 18 times
- Contact:
If you look closely at the circuit board or schematics you'll see that there is already a diode or two on the circuit board. Those diodes keep the charge on the capacitor from just bleeding back through the main step-up transformer. I don't think adding more diodes will do you much good. Just take the voltage/current directly from the cap bank instead of from the circuit board where the flashtube was wired.scottcrete wrote:QUESTION!
What would happen.. or should i say would it be better if i put a diode on the positive and the negative side of the board going into the capacitors to keep any energy from coming back into the board from the capacitors.. essentially trapping it on the capacitor side instead of it leaking onto the board...
then run leads from the capitor to my spark gap.!//
what do you think? and what did you think about above videos.. on voltage for 9 of these little beauties..
How are you holding your electrodes in place? Drilled into a short length of PVC? Wood is probably not good since it has too much conductance and capacitance.
You might try something like this untested wild-ass-idea;
1. Back the trigger electrode up by a half inch or so (away from the other two electrodes)
2. Take a couple inches of bare wire and wrap it around the threads of the trigger electrode and then stick it down between the two other electrodes. Nichrome wire (heater wire) would be best but if you don't have any then regular old copper wire should be OK.
3. As the sacrificial trigger wire burns up you can just screw it's screw in farther, or replace the wire all together.
- Attachments
-
- photoflash_banger.gif (10.73 KiB) Viewed 3627 times

-
scottcrete

- Specialist 3

- Posts: 332
- Joined: Tue Mar 18, 2008 1:26 am
- Location: Bridgeport, West Virginia USA
[youtube][/youtube]
sparks in slow motion.. (lilke my song?)
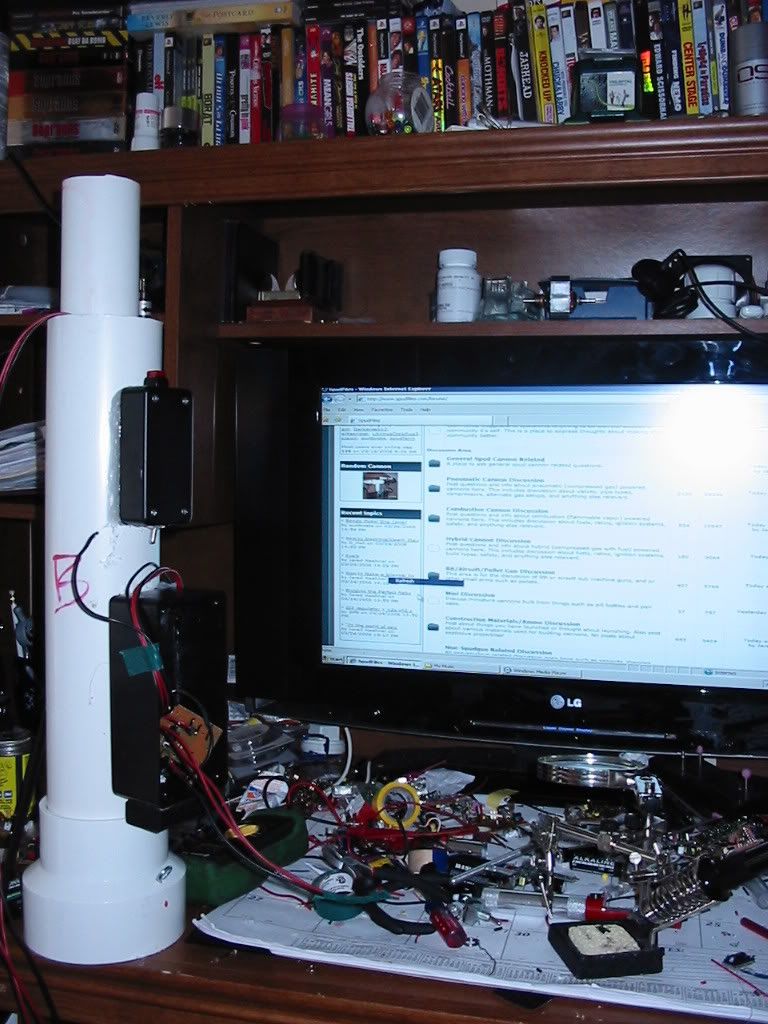
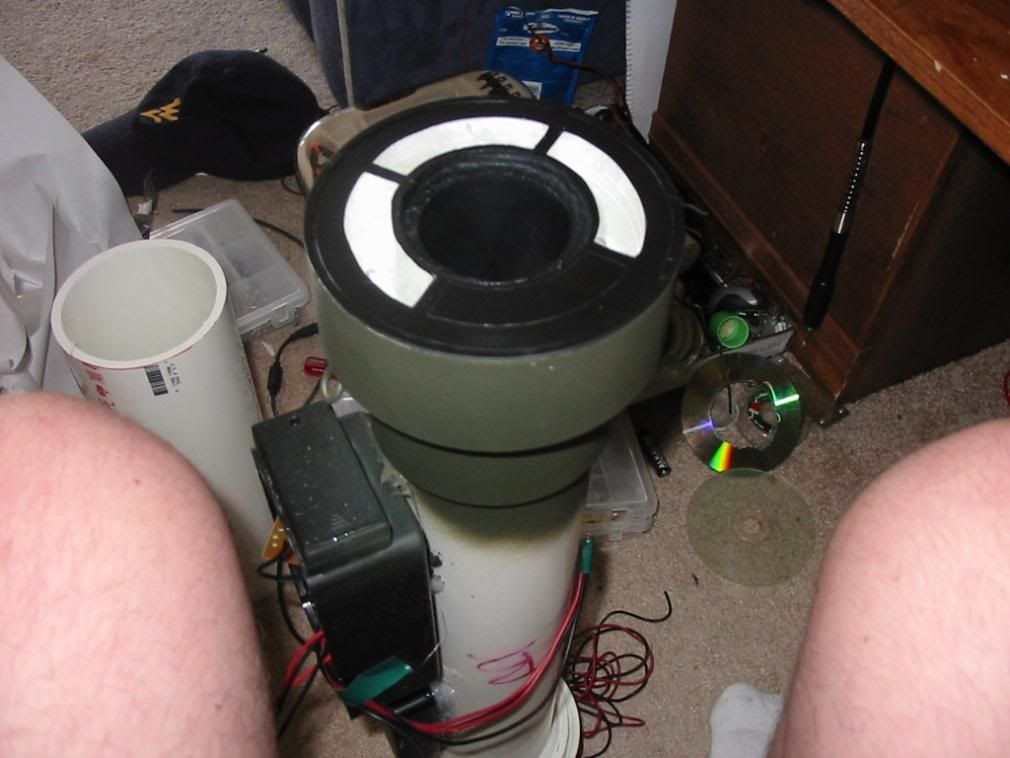
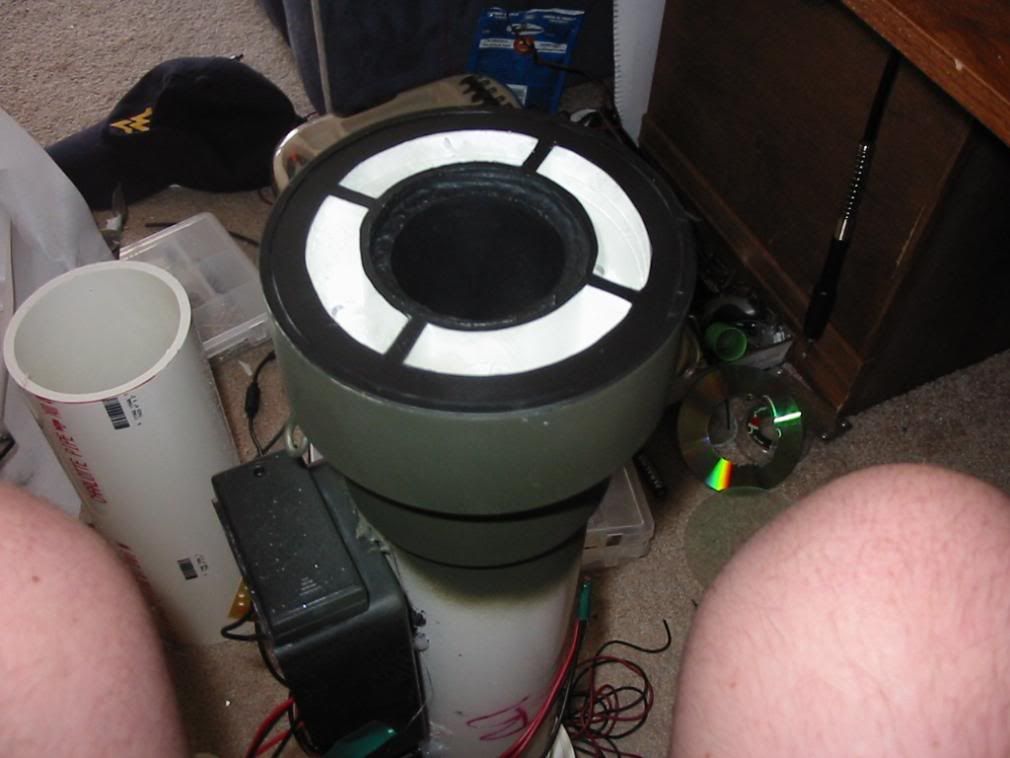
here is what is done so far on the gun itself...the wiring on the left will go to the spark gap and to the 12 volt exhaust fan.. the wiring hanging out in the right is the wiring to the L.E.D.s on the front of the gun.
also notice the sling hook on the right side..
(Hey trigger.. check out my monitor the ol'lady got me.. (30 Inch)
i love her so much.. lol
sparks in slow motion.. (lilke my song?)
here is what is done so far on the gun itself...the wiring on the left will go to the spark gap and to the 12 volt exhaust fan.. the wiring hanging out in the right is the wiring to the L.E.D.s on the front of the gun.
also notice the sling hook on the right side..
(Hey trigger.. check out my monitor the ol'lady got me.. (30 Inch)
i love her so much.. lol
-
jimmy101
- Sergeant Major 2
- Posts: 3210
- Joined: Wed Mar 28, 2007 9:48 am
- Location: Greenwood, Indiana
- Has thanked: 7 times
- Been thanked: 18 times
- Contact:
Looks like you're making progress!
What is the red flash of light on the circuit board right before the spark? Is it the LED/Ne-2 "ready" light?
EDIT: Engrish
What is the red flash of light on the circuit board right before the spark? Is it the LED/Ne-2 "ready" light?
EDIT: Engrish
-
TurboSuper
- Corporal 5

- Posts: 986
- Joined: Thu Jun 16, 2005 1:44 pm
- Been thanked: 1 time
Hey hey, it's looking good! Now you just gotta make it spark without the screwdriver 
Have you considered just putting a small bit of steel wool between the electrodes? It may be a better option if this HV ionizing buisness doesn't work out. I hope it does though, trigatrons are cool.
Have you considered just putting a small bit of steel wool between the electrodes? It may be a better option if this HV ionizing buisness doesn't work out. I hope it does though, trigatrons are cool.
"If at first you dont succeed, then skydiving is not for you" - Darwin Awards
-
scottcrete
- Specialist 3
- Posts: 332
- Joined: Tue Mar 18, 2008 1:26 am
- Location: Bridgeport, West Virginia USA
im trying like hell.. lol..
Its amazing how much the real thing is easier to do.. lol
anyways.. here is pics of the progress so you know what is going on..
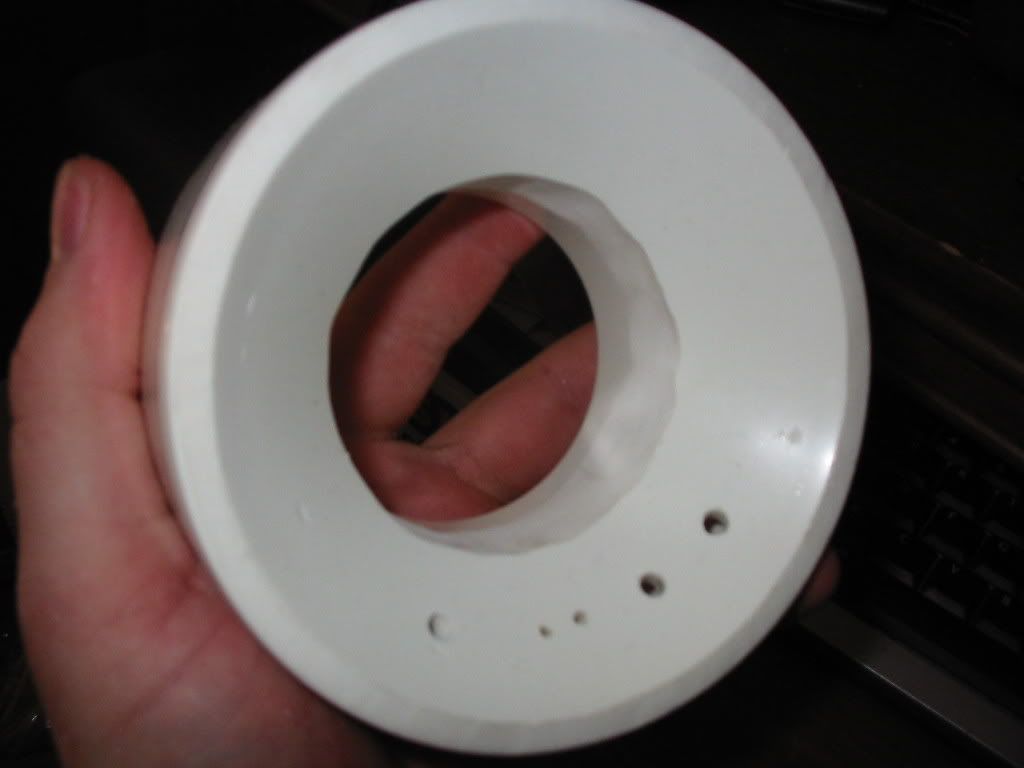
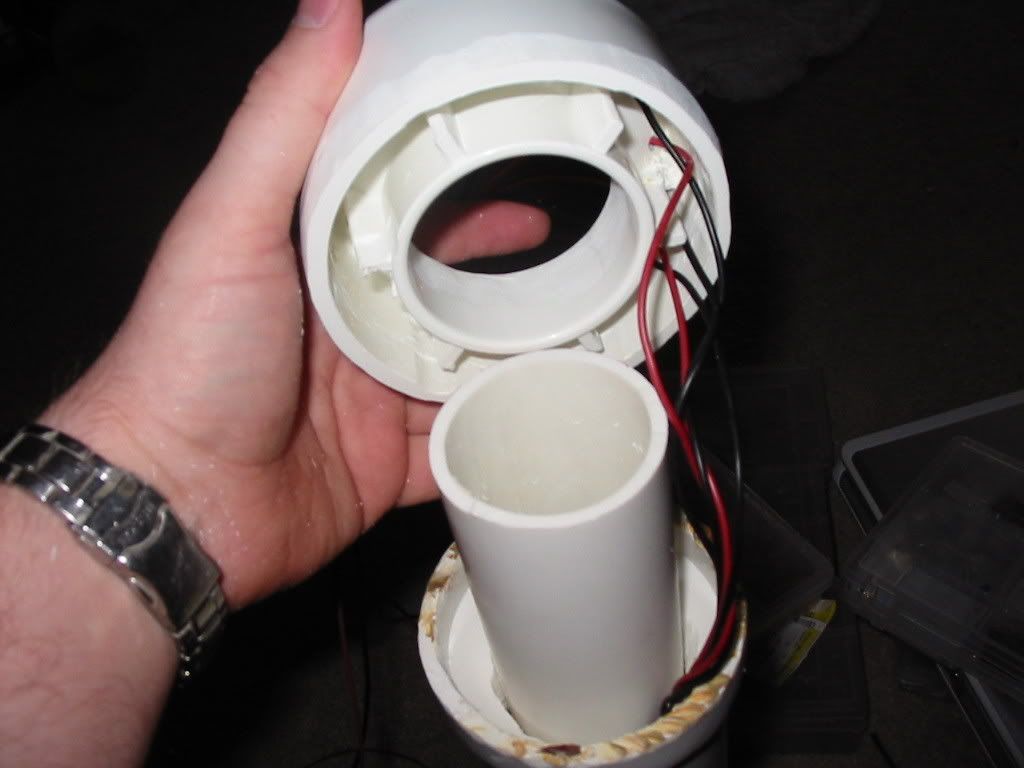
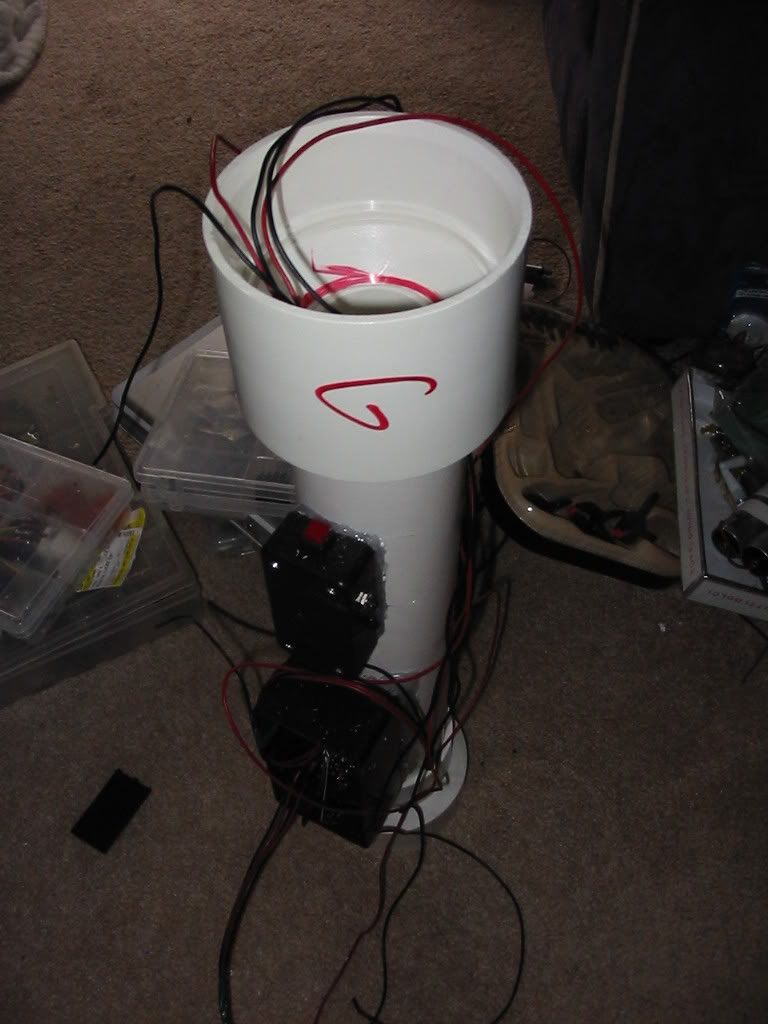
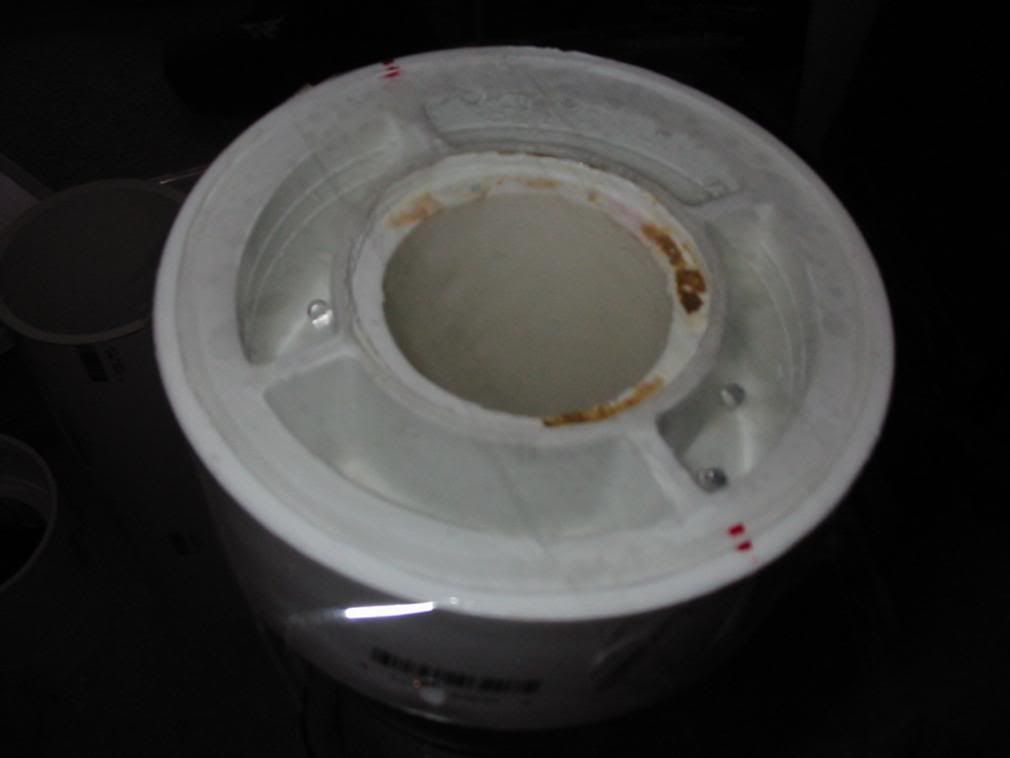
this is a picture of the flush reducer 4 to 2
that i am using to enter the wires into the chamber
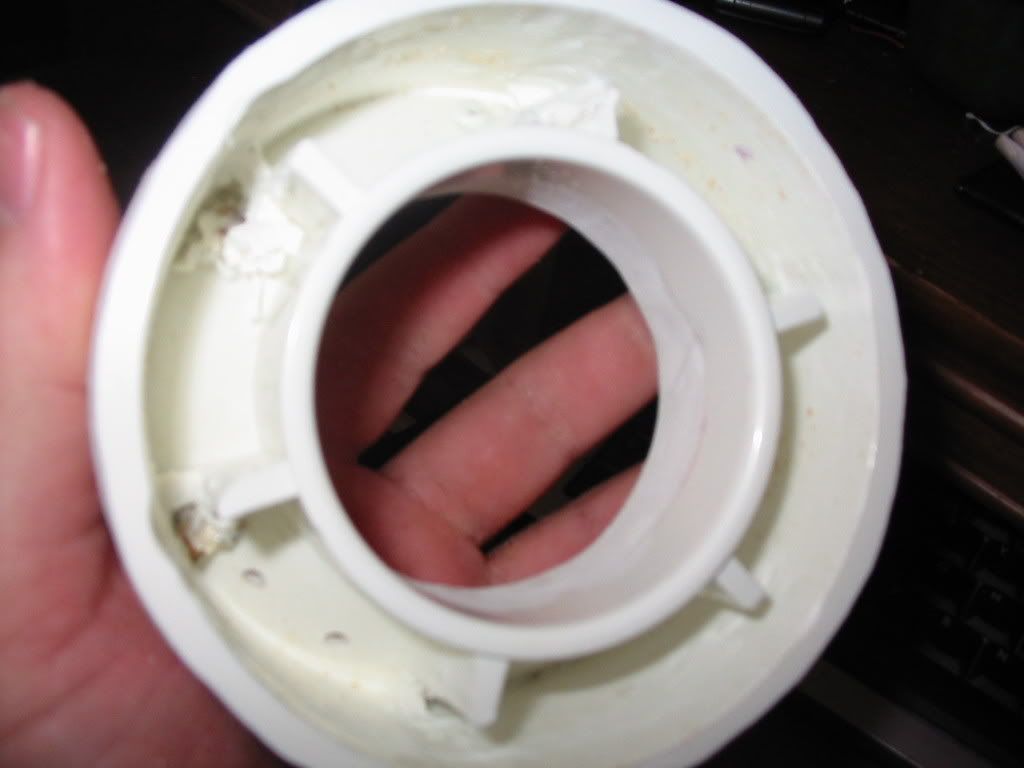
this is the back of the flush reducer.. notice that i ground around the edge breaking the supports for strength.. you will see why soon
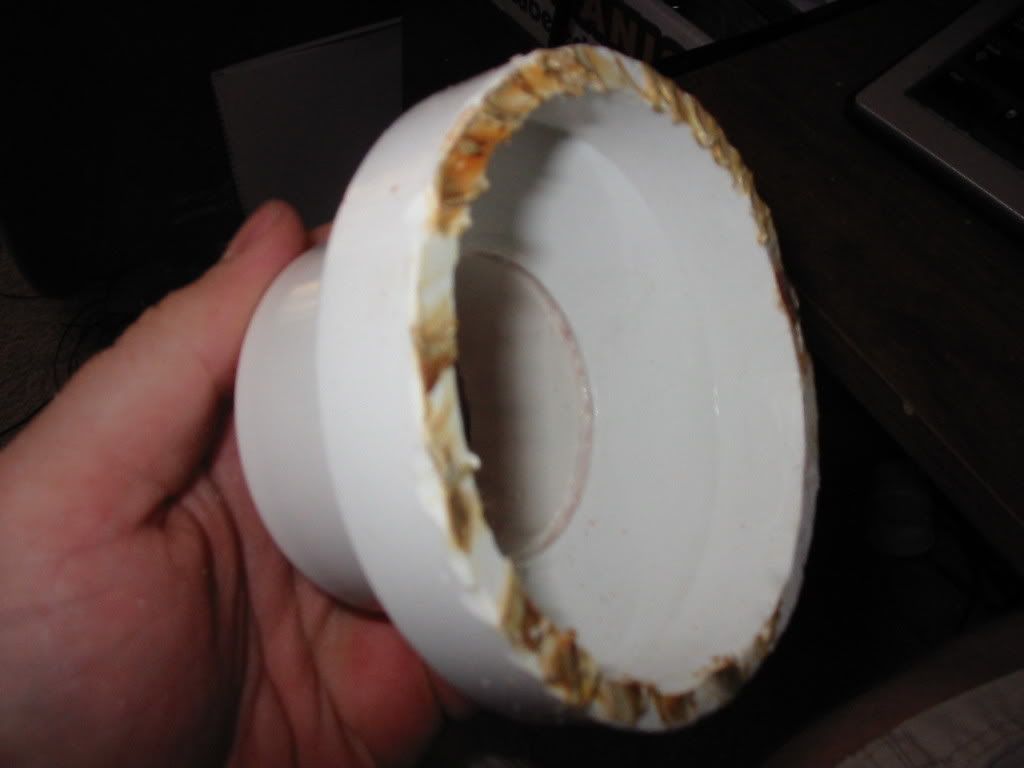
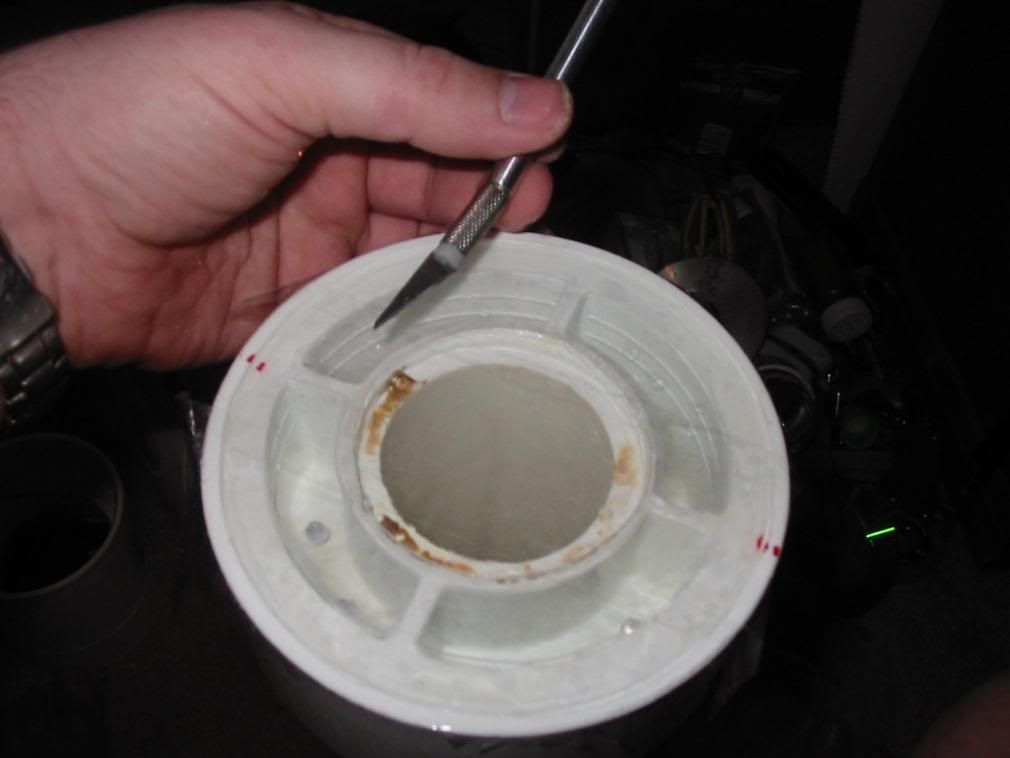
this is a 3 inch to 2 inch reducer.. that I have trimmed down.. to fit in the flush reducers back... you will see soon.
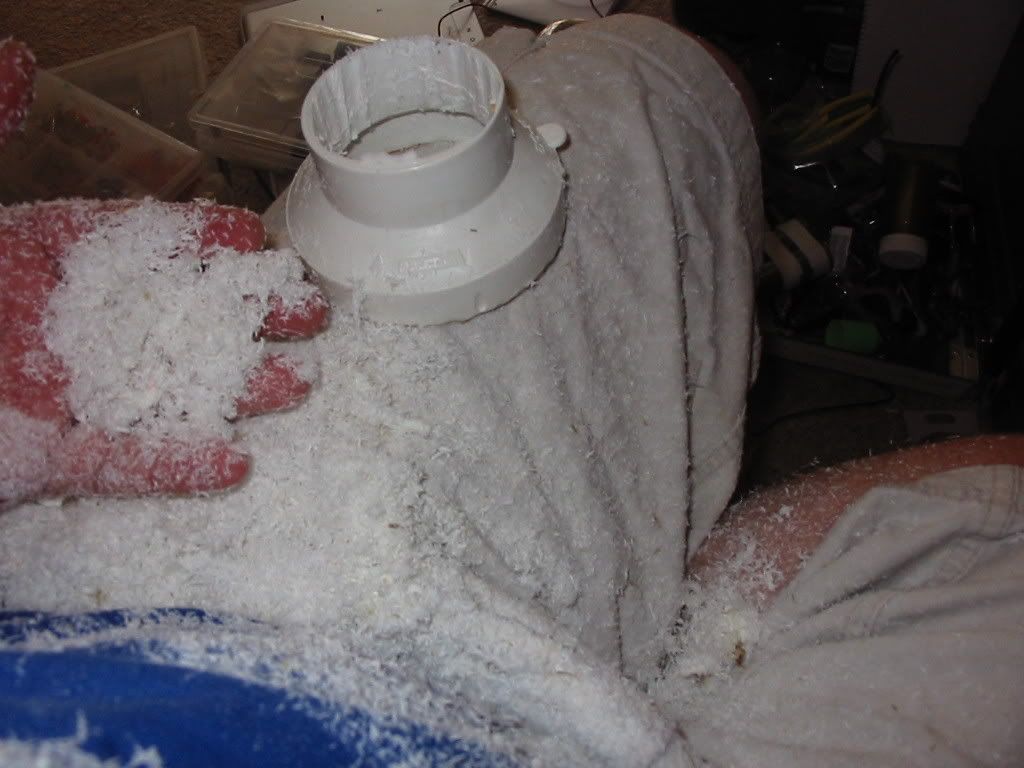
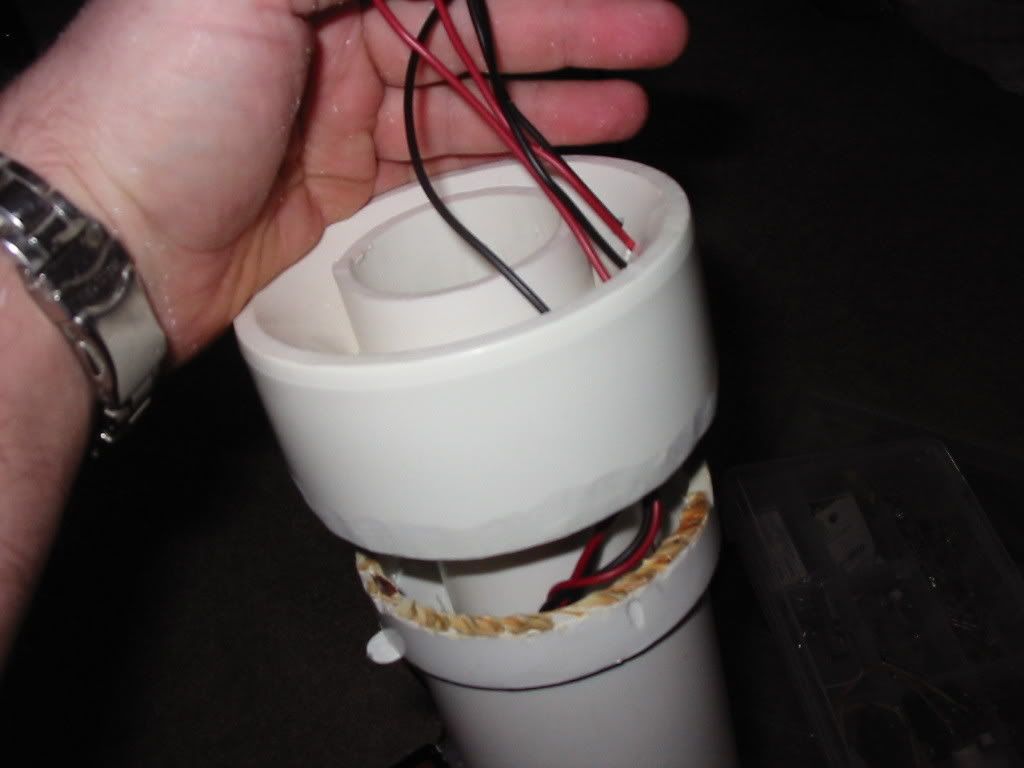
look at this mess.. my ol lady is gonna be pissed... lol.. but anyways see how i ground out the inside of this reducer? this is the one above.. with the back cut off.
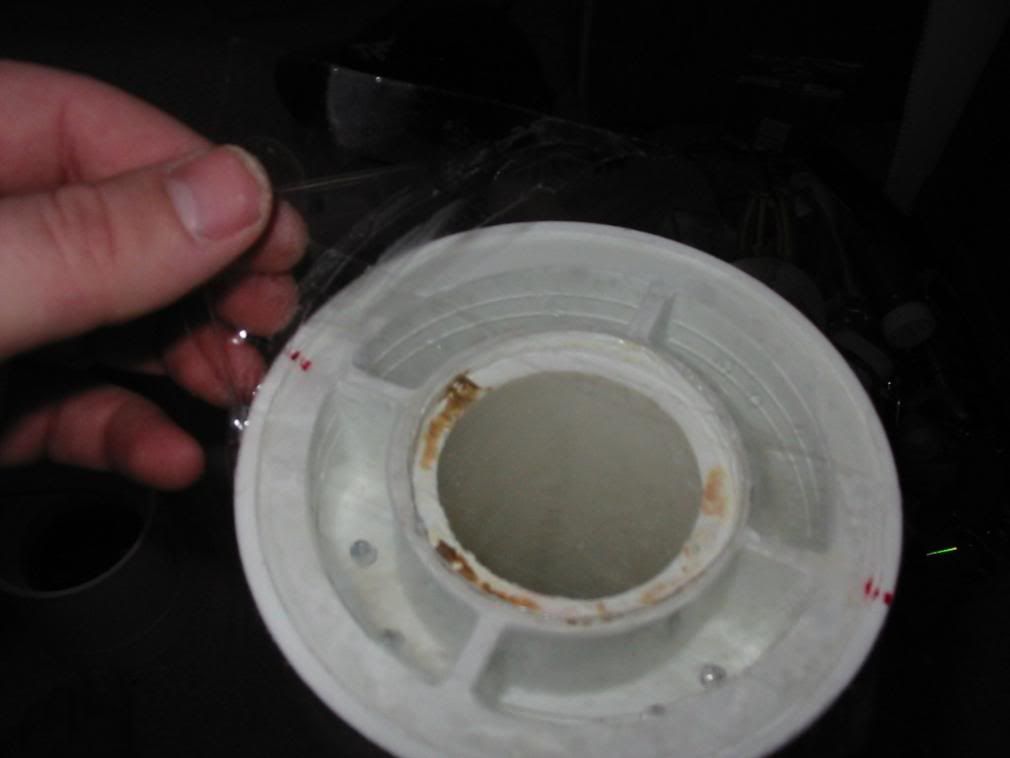
well this flush reducer is gonna fit over the 2 inch barrel.. and inside of the 3 inch sleeve covering all my wiring.
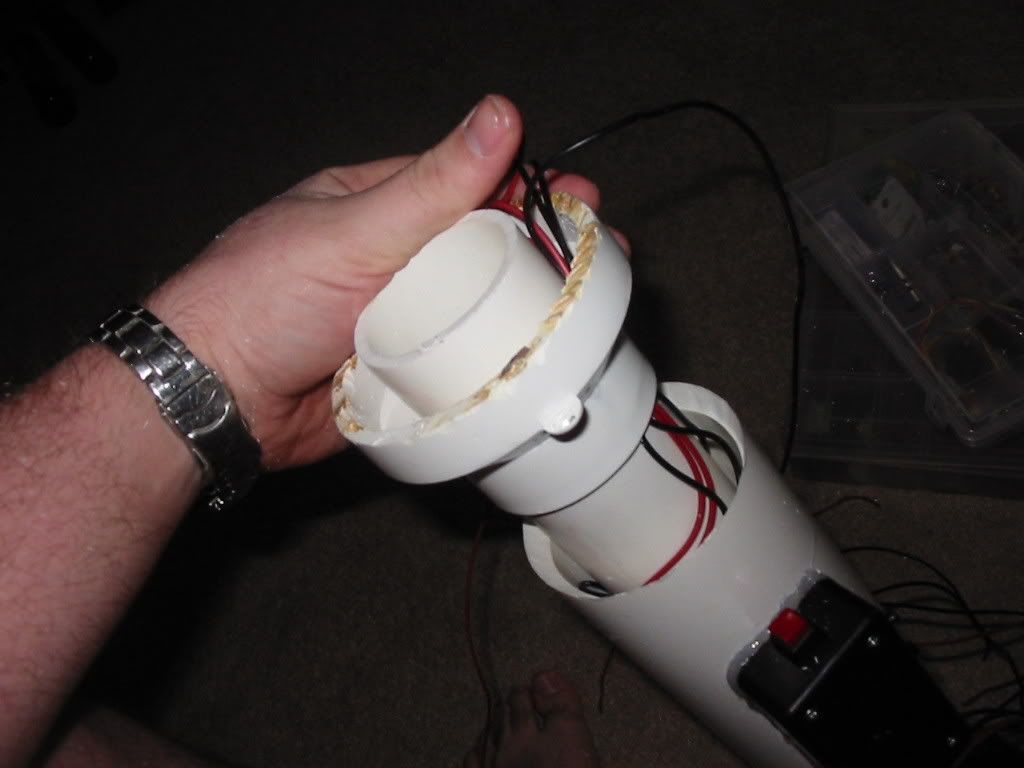
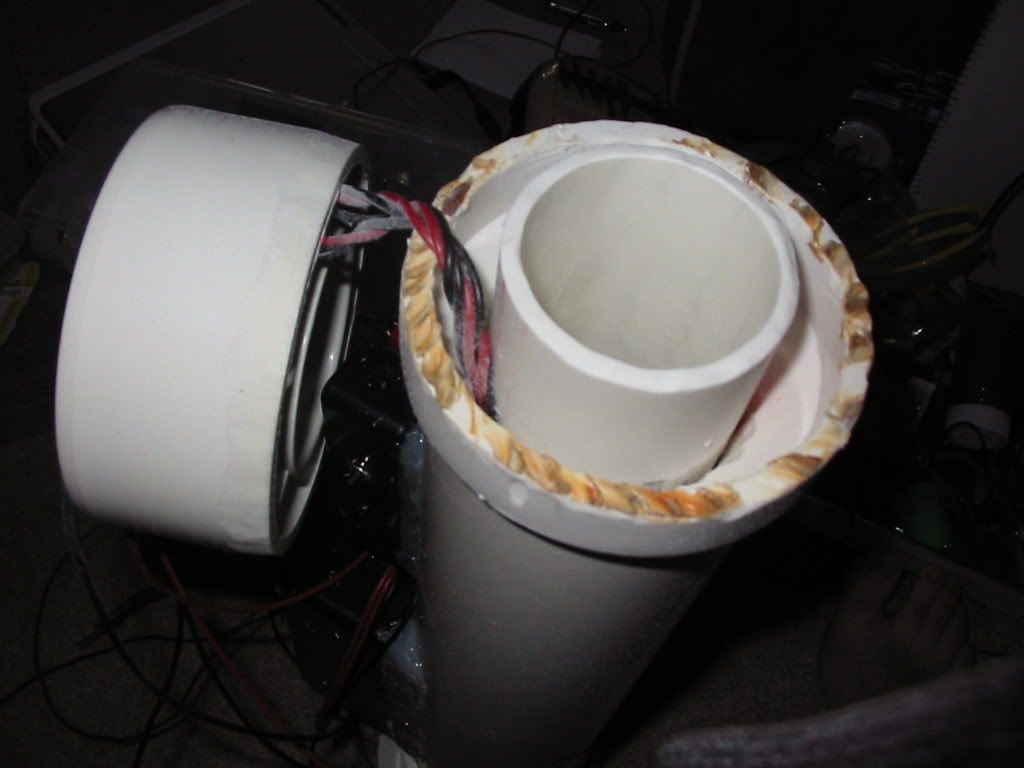
see it here pushed into the wiring sleeve? with the barrel extending towards the chamber
here is how good of a fit it made
now bringing the flush reducer back into the pic.. see where i am going with this?
see how the flush reducer and the regular reducer mate!
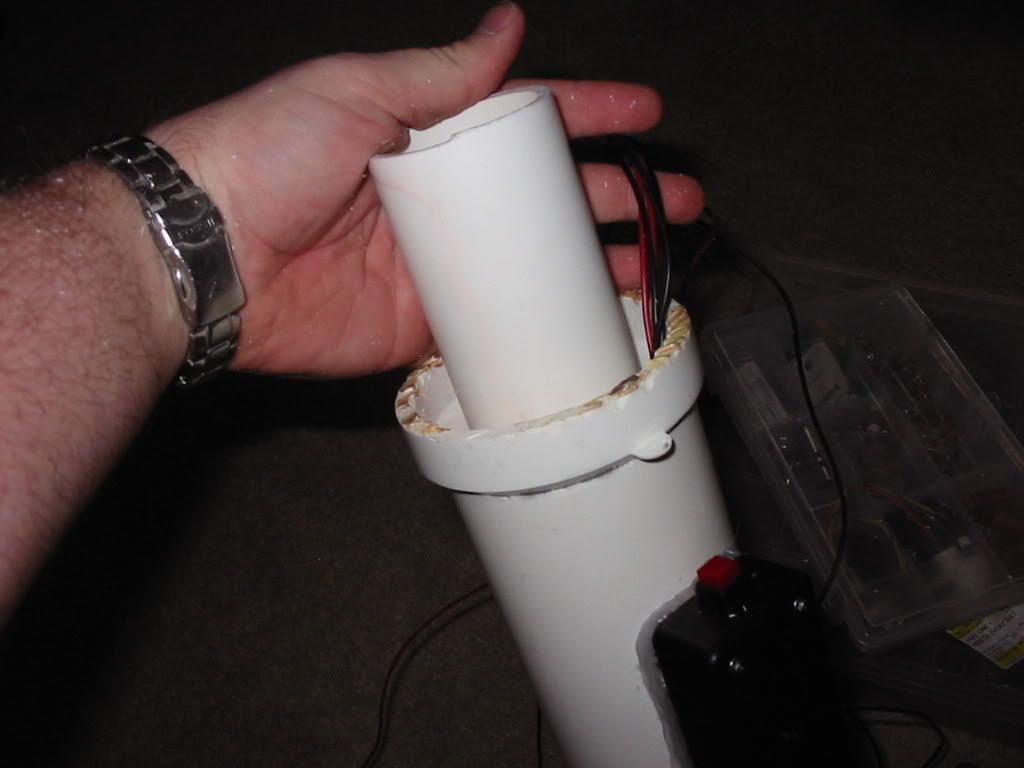
this shows you how my wiring is coming through into the chamber
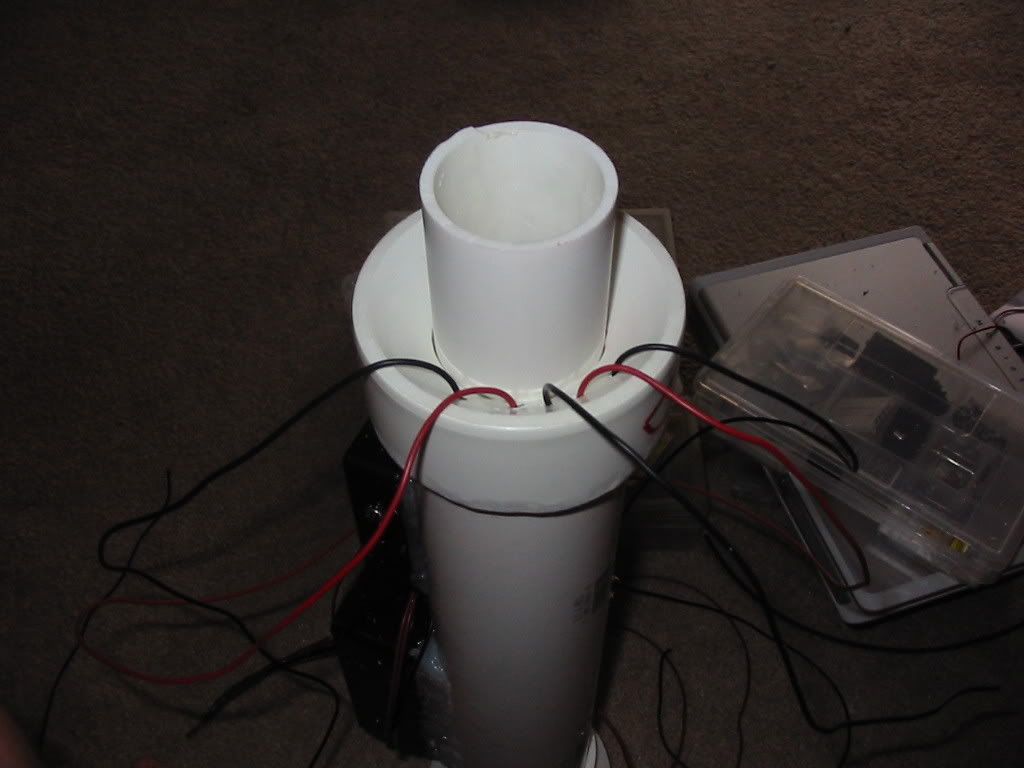
nice clean fit.. entering the chamber
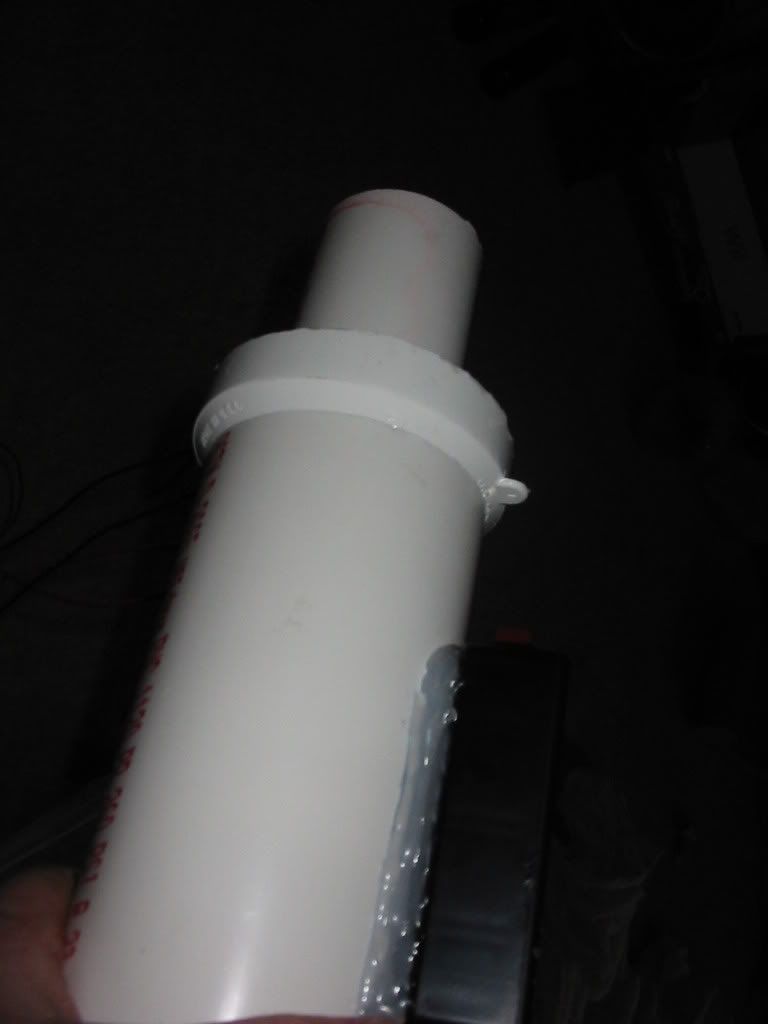
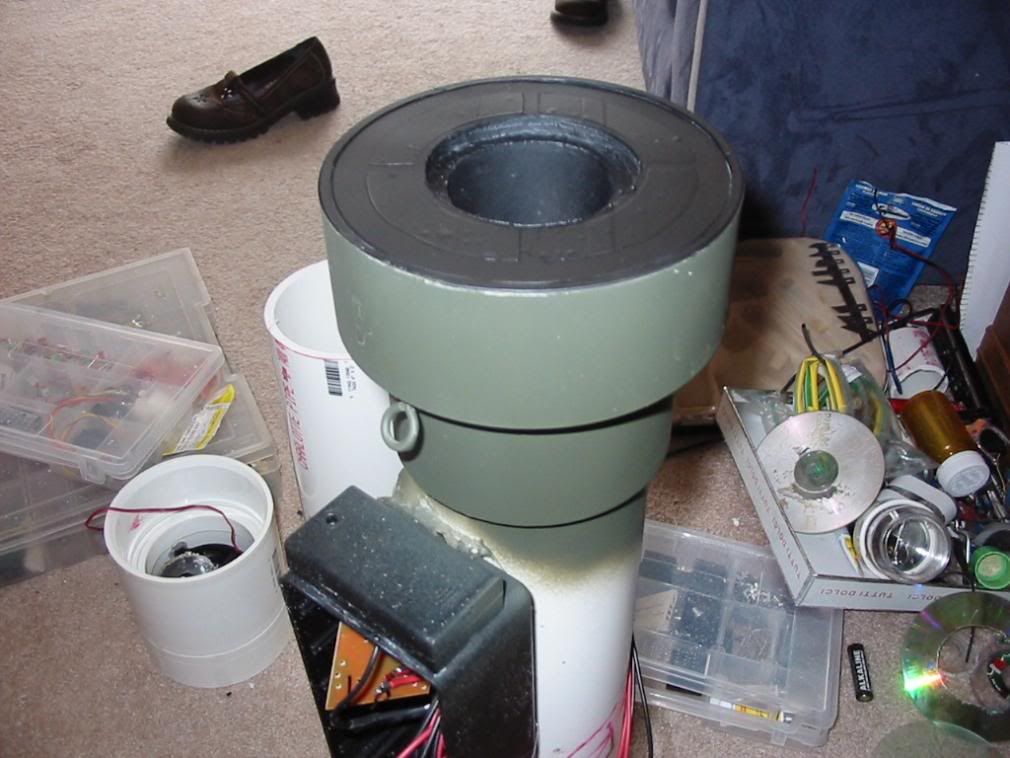
now i am marking and cutting off the excess barrel so the explosion will go straight out of the chamber
now i am installing a coupler to go over the flush reducer.. then to attach to the chamber
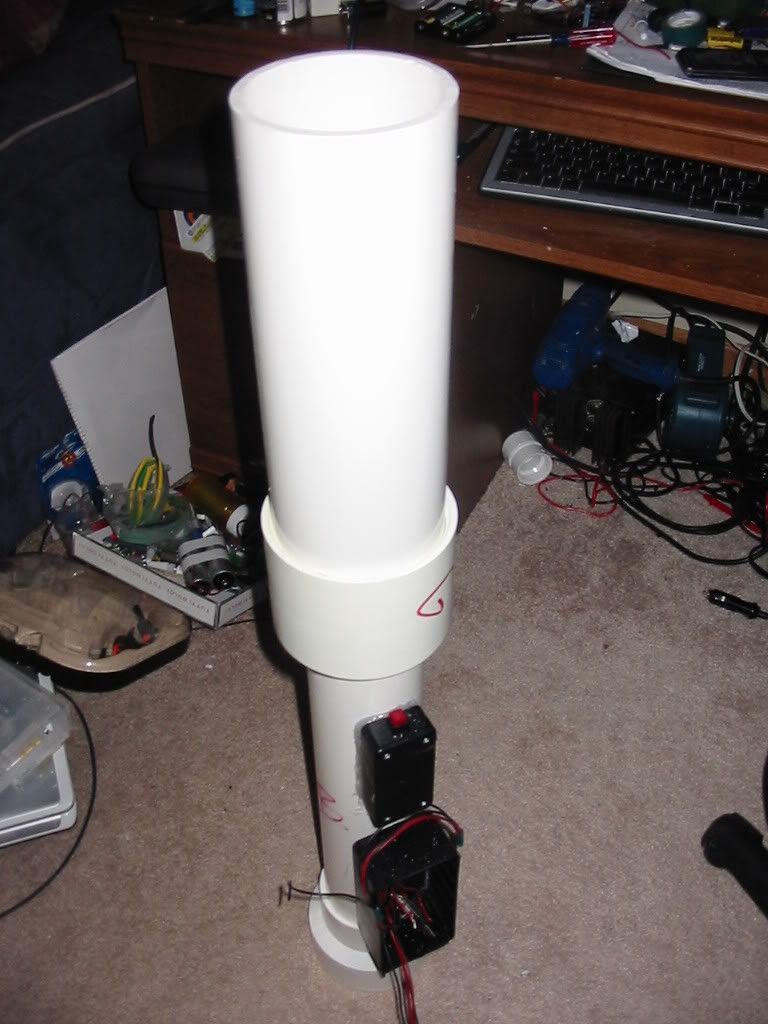
this pic shows you the chamber installed
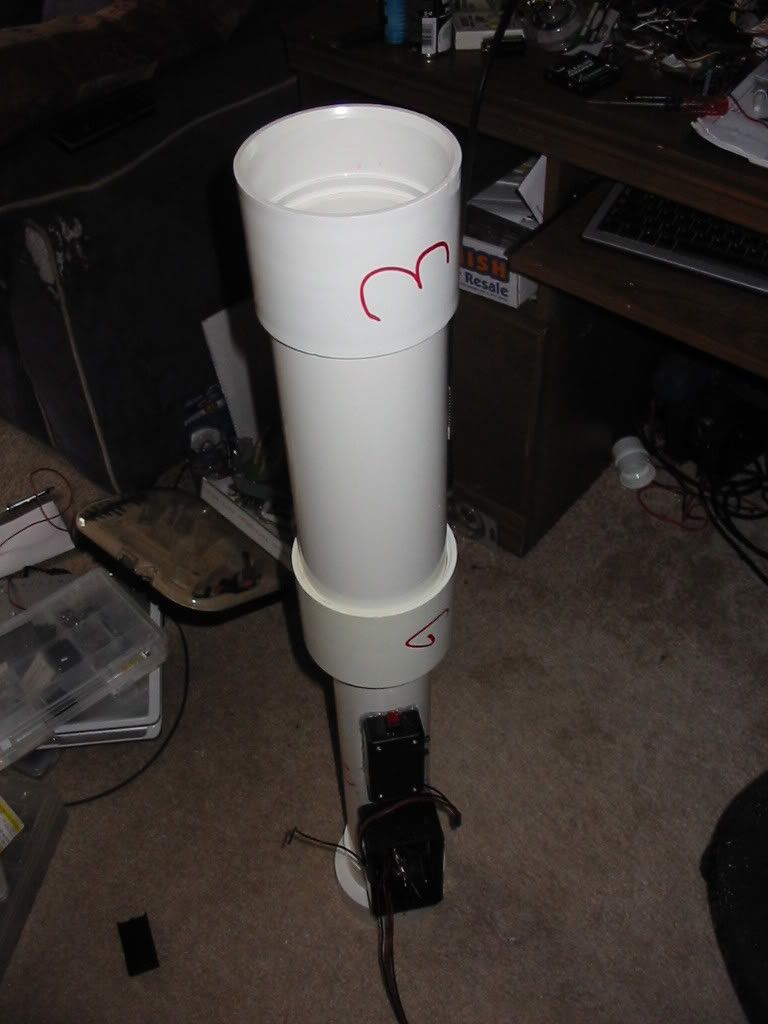
this pic shows you the coupler for attaching the threaded cap onto the chamber
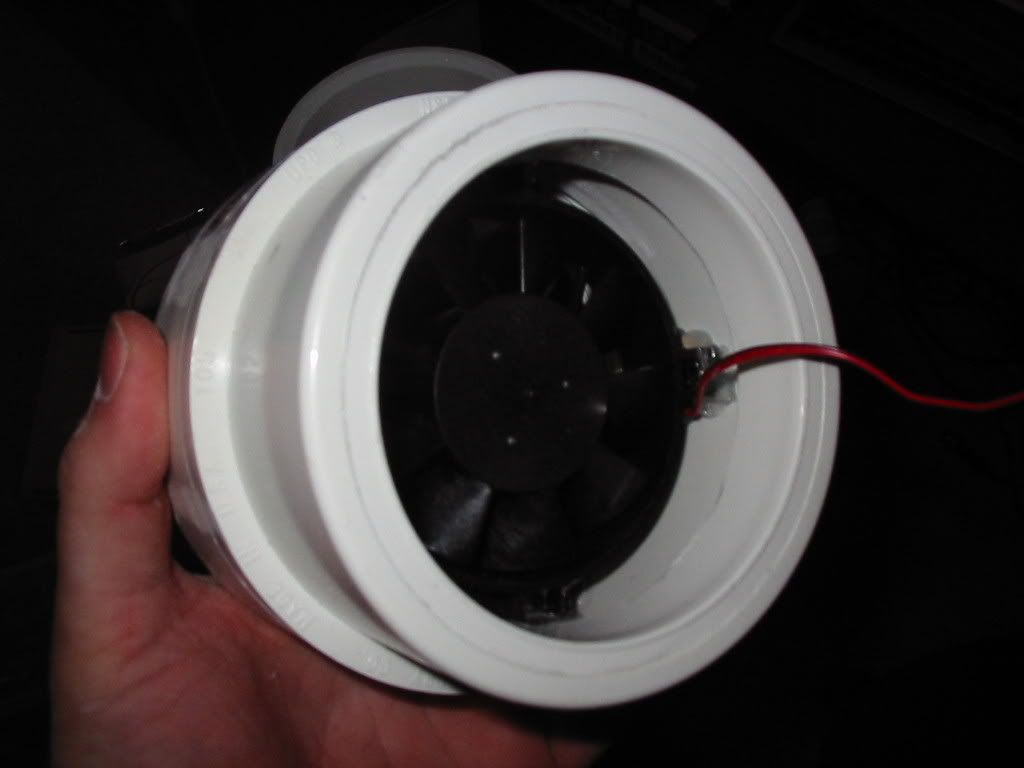
this is my exhaust fan.. and notice how the scrap i cut off the regular reducer was glued in on this to make a blast deflecter for my hot glue holding my fan in place.
here is the fan installed on the chamber
with cap on
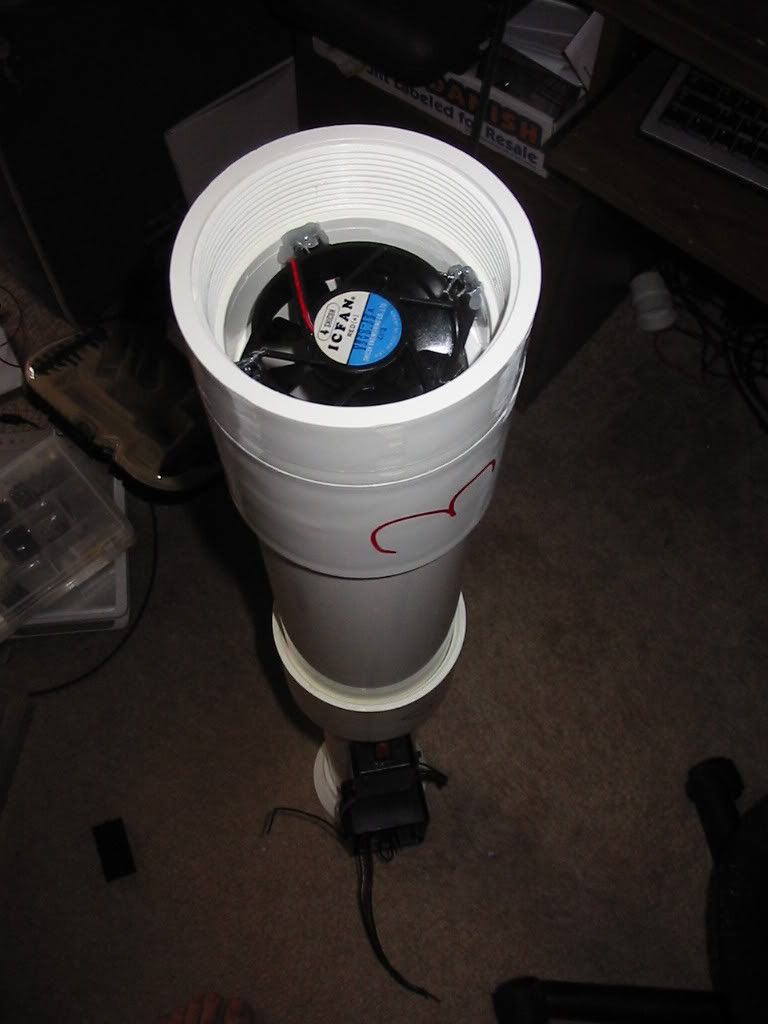
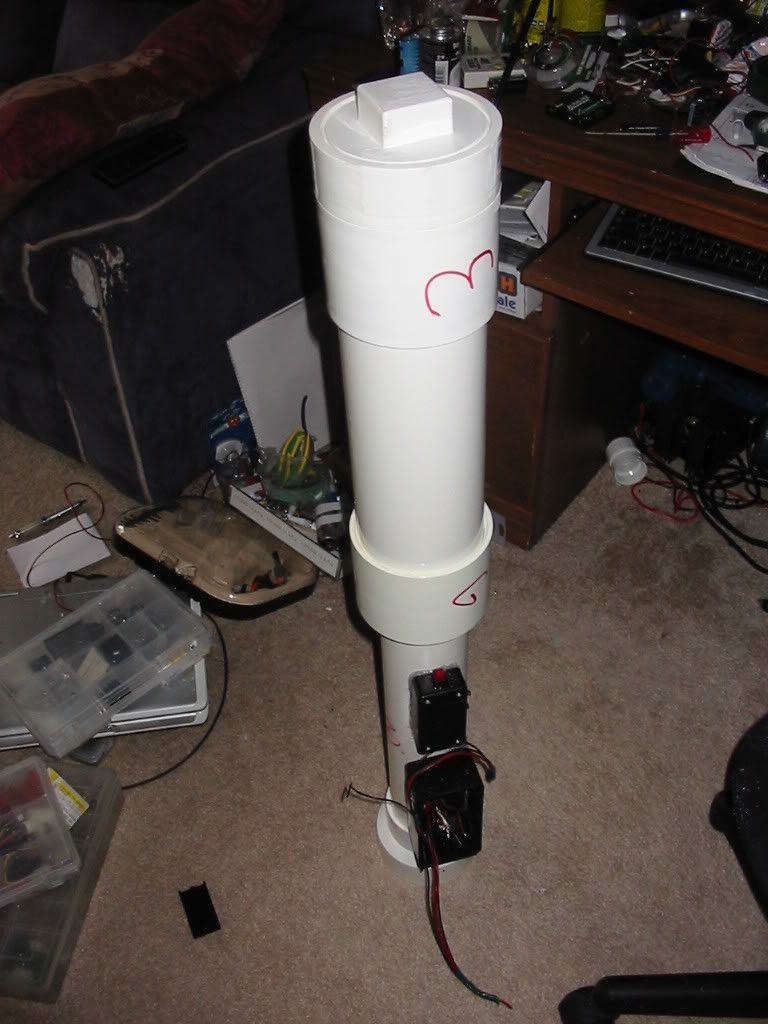
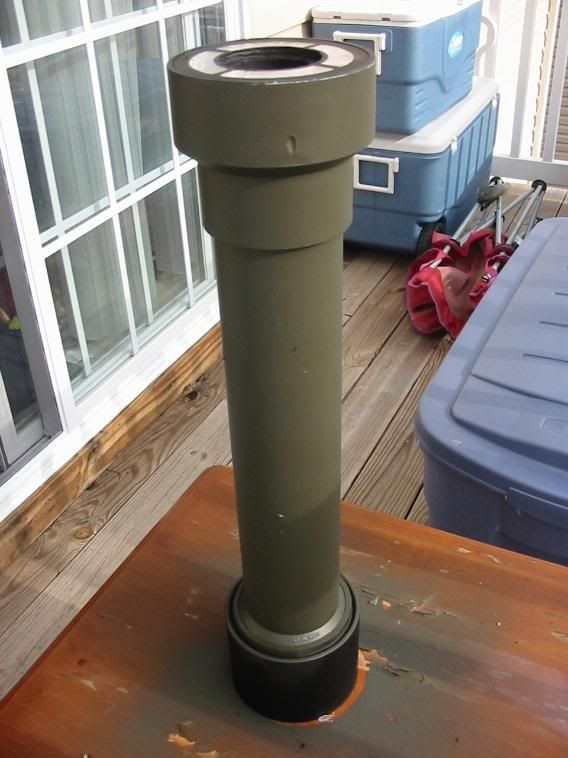
here it is on my couch..(what it will look like .... minus the paint.. stickers.. and shit
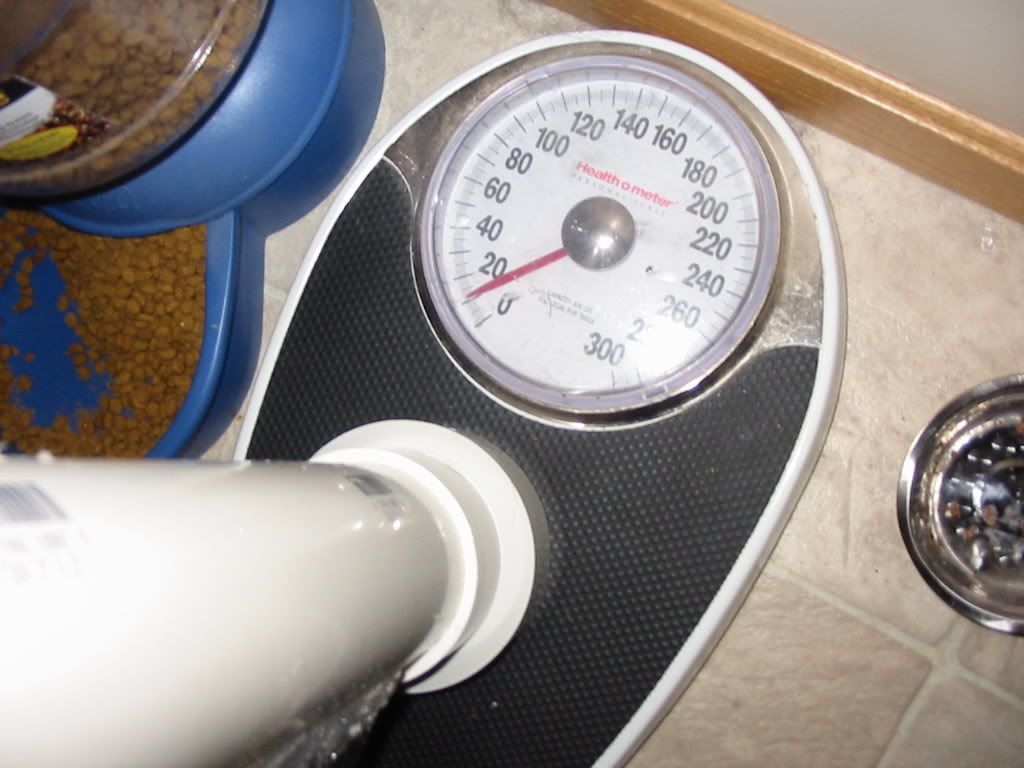
this shows you the weight.. as some of you always ask for some reason..
SO WHAT DO YOU THINK?
Its amazing how much the real thing is easier to do.. lol
anyways.. here is pics of the progress so you know what is going on..
this is a picture of the flush reducer 4 to 2
that i am using to enter the wires into the chamber
this is the back of the flush reducer.. notice that i ground around the edge breaking the supports for strength.. you will see why soon
this is a 3 inch to 2 inch reducer.. that I have trimmed down.. to fit in the flush reducers back... you will see soon.
look at this mess.. my ol lady is gonna be pissed... lol.. but anyways see how i ground out the inside of this reducer? this is the one above.. with the back cut off.
well this flush reducer is gonna fit over the 2 inch barrel.. and inside of the 3 inch sleeve covering all my wiring.
see it here pushed into the wiring sleeve? with the barrel extending towards the chamber
here is how good of a fit it made
now bringing the flush reducer back into the pic.. see where i am going with this?
see how the flush reducer and the regular reducer mate!
this shows you how my wiring is coming through into the chamber
nice clean fit.. entering the chamber
now i am marking and cutting off the excess barrel so the explosion will go straight out of the chamber
now i am installing a coupler to go over the flush reducer.. then to attach to the chamber
this pic shows you the chamber installed
this pic shows you the coupler for attaching the threaded cap onto the chamber
this is my exhaust fan.. and notice how the scrap i cut off the regular reducer was glued in on this to make a blast deflecter for my hot glue holding my fan in place.
here is the fan installed on the chamber
with cap on
here it is on my couch..(what it will look like .... minus the paint.. stickers.. and shit
this shows you the weight.. as some of you always ask for some reason..
SO WHAT DO YOU THINK?
-
scottcrete
- Specialist 3
- Posts: 332
- Joined: Tue Mar 18, 2008 1:26 am
- Location: Bridgeport, West Virginia USA
If you wanna laugh.. watch my 4 barrel anti aircraft gun in this short video.. i made this today.. after being agravated with that damned trigitron.. the bottles are these parts bottles you get for your garge..
[youtube][/youtube]
what ya think?
[youtube][/youtube]
what ya think?

theres no way thats faster than the speed of sound. My guess is that your cameras "slow mo" is more like a still frame slide show, and the sound is actually the desired frame rate.
If u have a bbq ignitor for a "anti aircraft missle launcher", why bother with a trigitron? alot less trouble and fairly reliable.
Hotwired: You photoshopped...
If u have a bbq ignitor for a "anti aircraft missle launcher", why bother with a trigitron? alot less trouble and fairly reliable.
Hotwired: You photoshopped...
Oh really?rp181 wrote:Hotwired: You photoshopped...
If you lie about scientific results to peers then you lose trust as they're looking for data that can be relied on for their own experiments.
Here are the still frames of all sparks from that clip at full detail, third might be an anomalous spark that seemed to be on the stand itself, one frame before the last big spark.
All four spark frames
-
scottcrete
- Specialist 3
- Posts: 332
- Joined: Tue Mar 18, 2008 1:26 am
- Location: Bridgeport, West Virginia USA
ill be a monkeys unkle did you know.. that cd is the exact same size as a flush reducer? 4 inch?
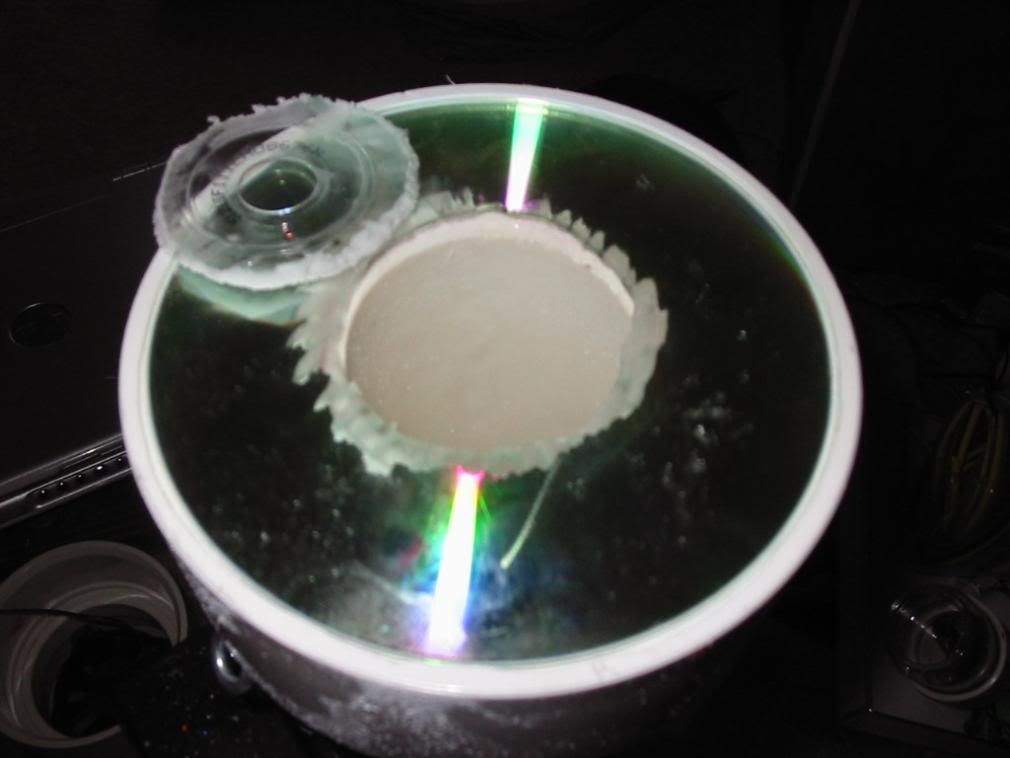
so i laid one on the thing and cut a hole for the barrel to stick through

then i scraped off all the shiny stuff to then realize that i could have used the clear one that comes on top a stack of cds... so i discarded the one above and started over..
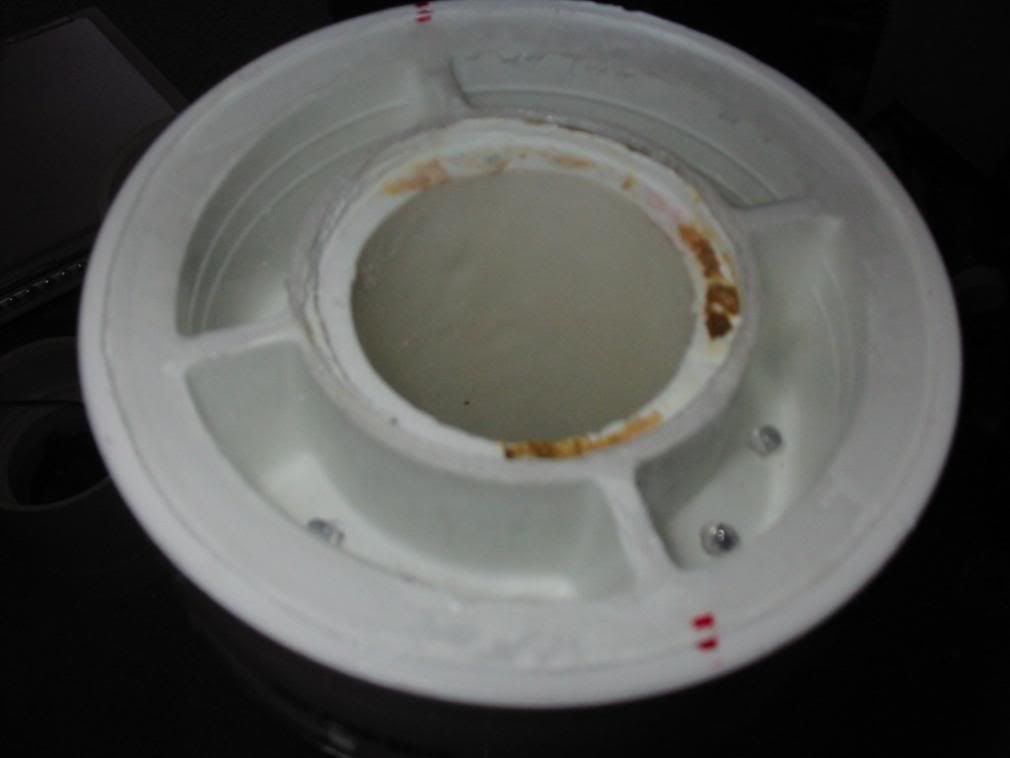
here is what it looks like now..
this is the lens for my l.e.d.s so that tater isnt mushed on them while loading the gun.
now i covered it in tape
and cut out the spots i wanted to be clear.. leaving the tape on it. (where i wanted clear)
 then i removed the excess tape.. where i wanted it to be black
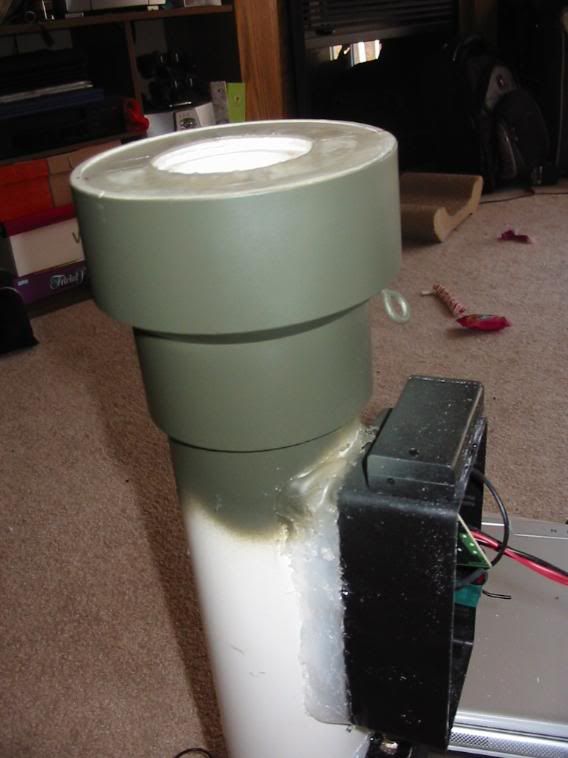 and sprayed it green
 then i wrapped tape around it backwards and stuck paper to it.. to keep the black off the green
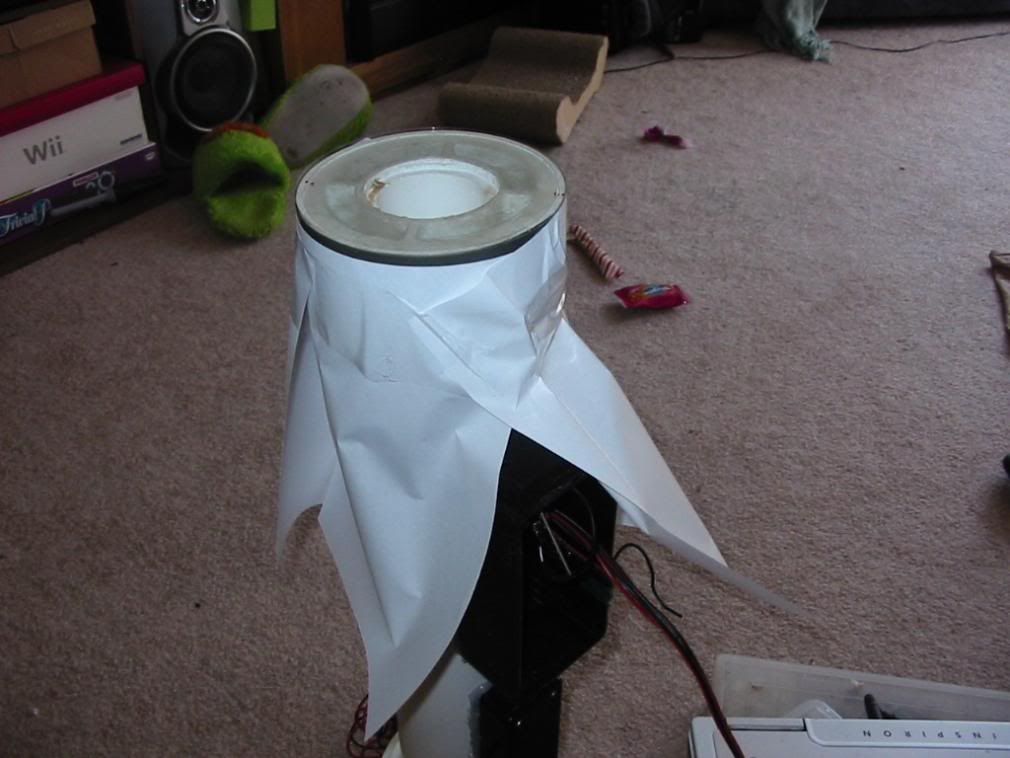
 now the tape and paper is removed to show my black lense
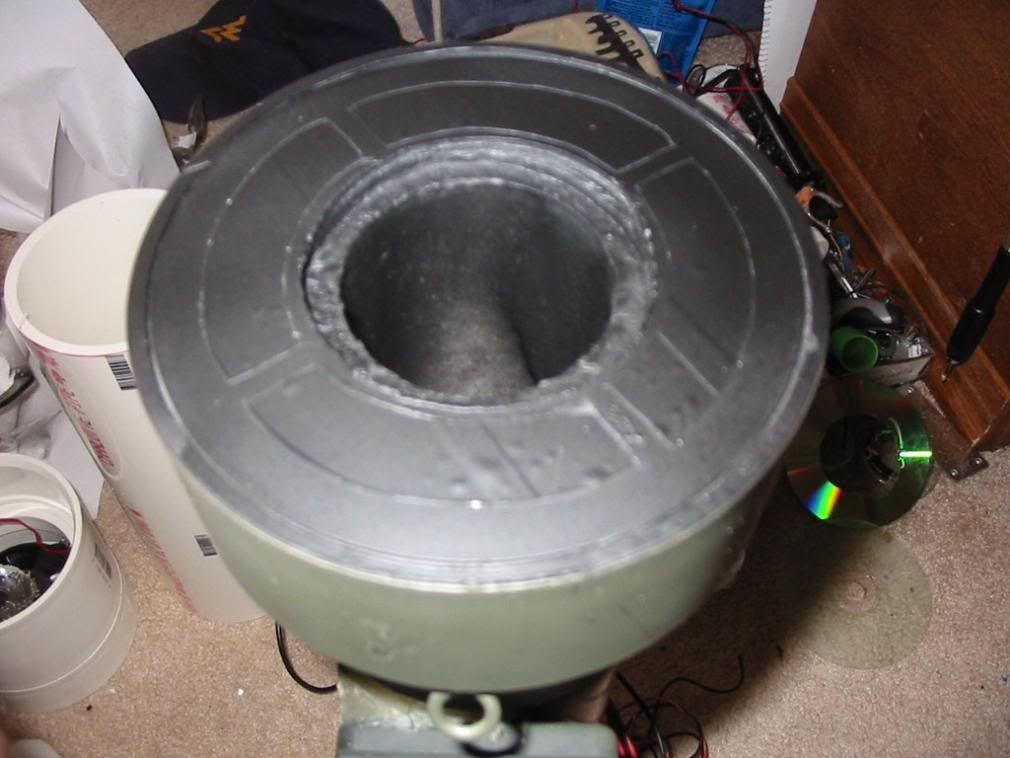
now this is a MUST.. YOU HAVE TO DO THIS... trim around what you want to be clear again.. to seperate the tape from the paint you just sprayed.. if you do not.. you will peal off the paint when you remove the tape..
 starting to take the tape off
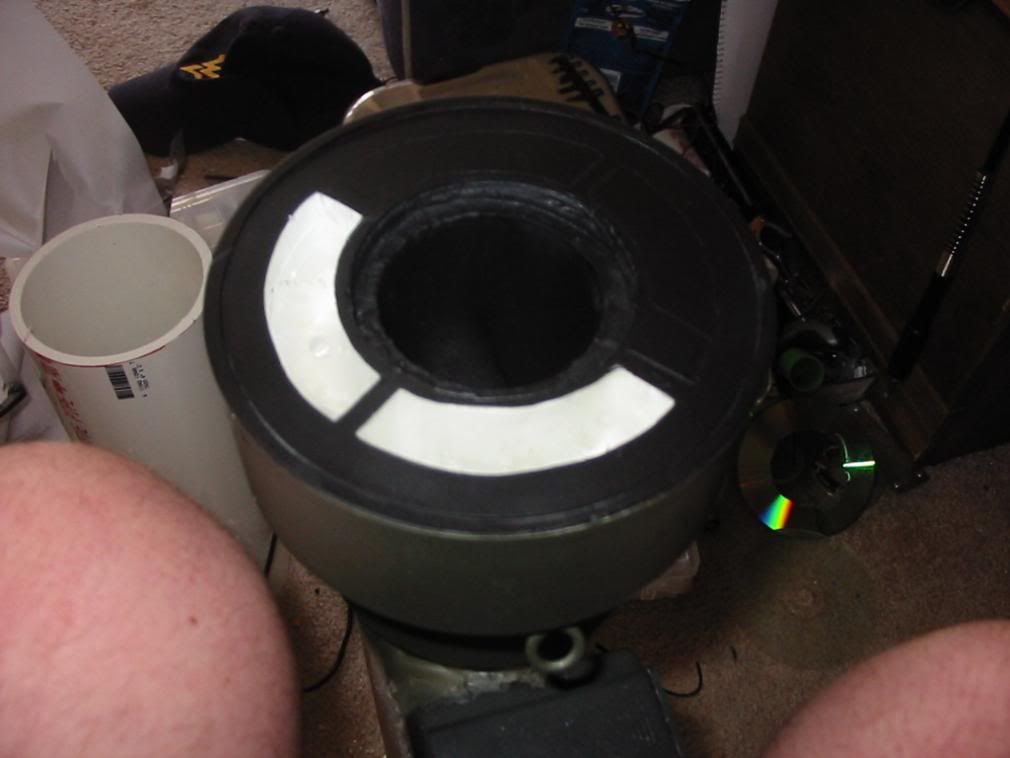
got the second piece off with no rips
third off with not rips
 4th off with no rips.. Hooray
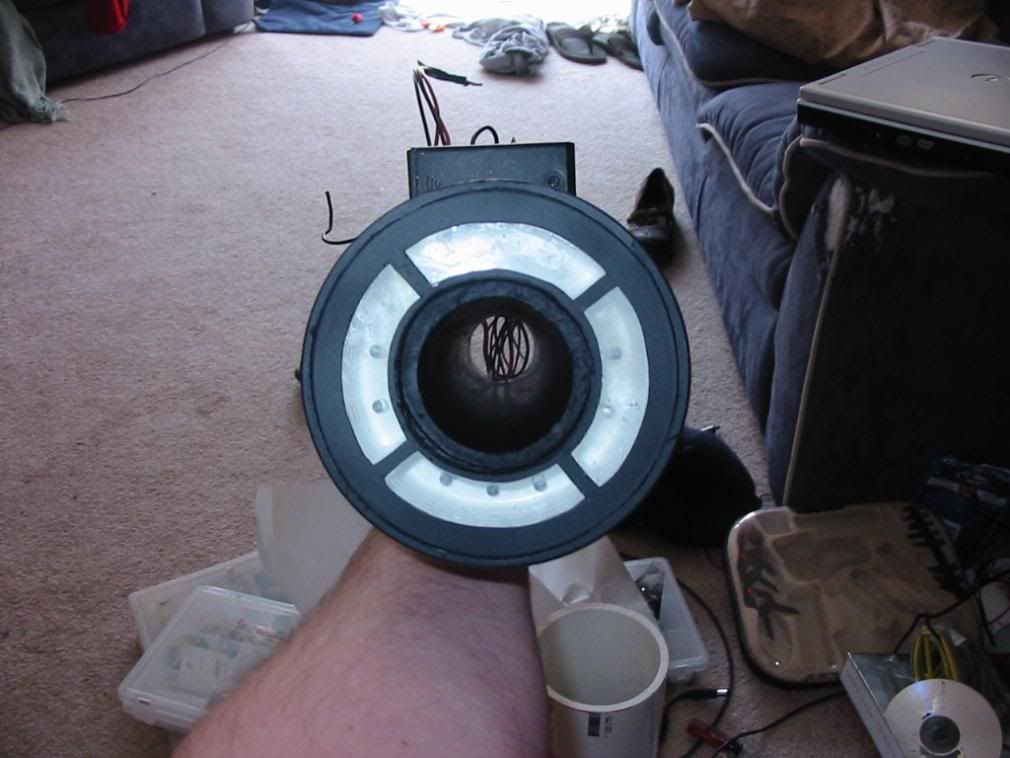
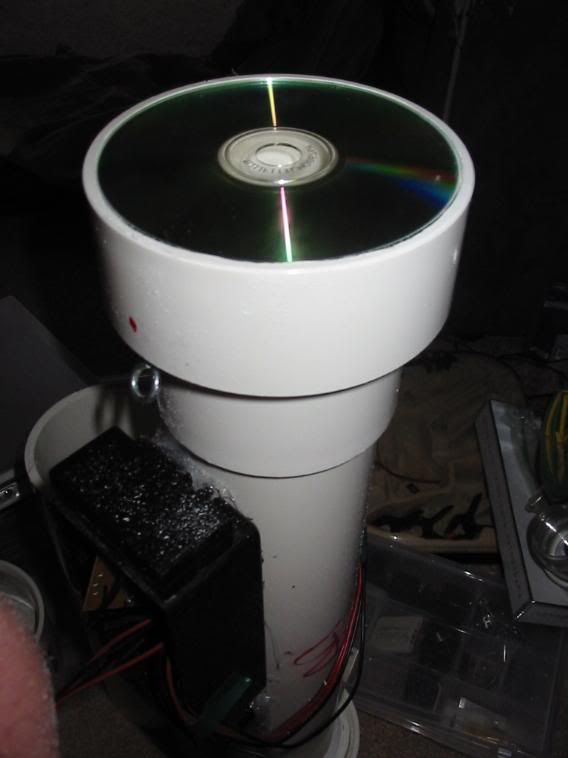
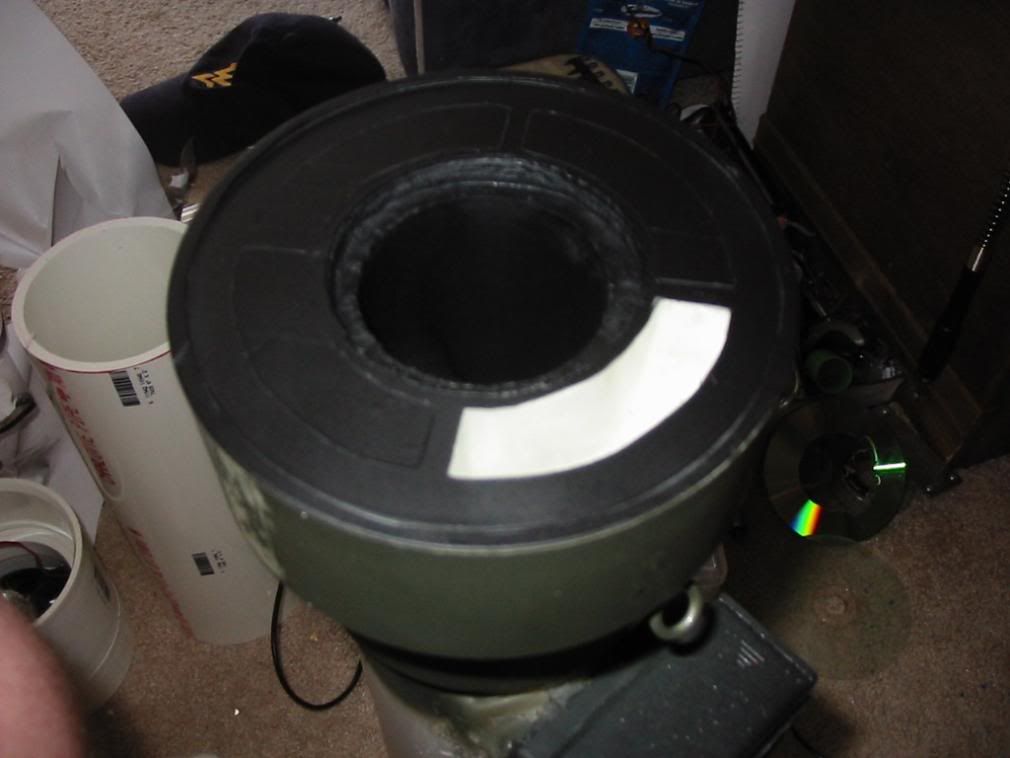
here is what the end of my barrel looks like now
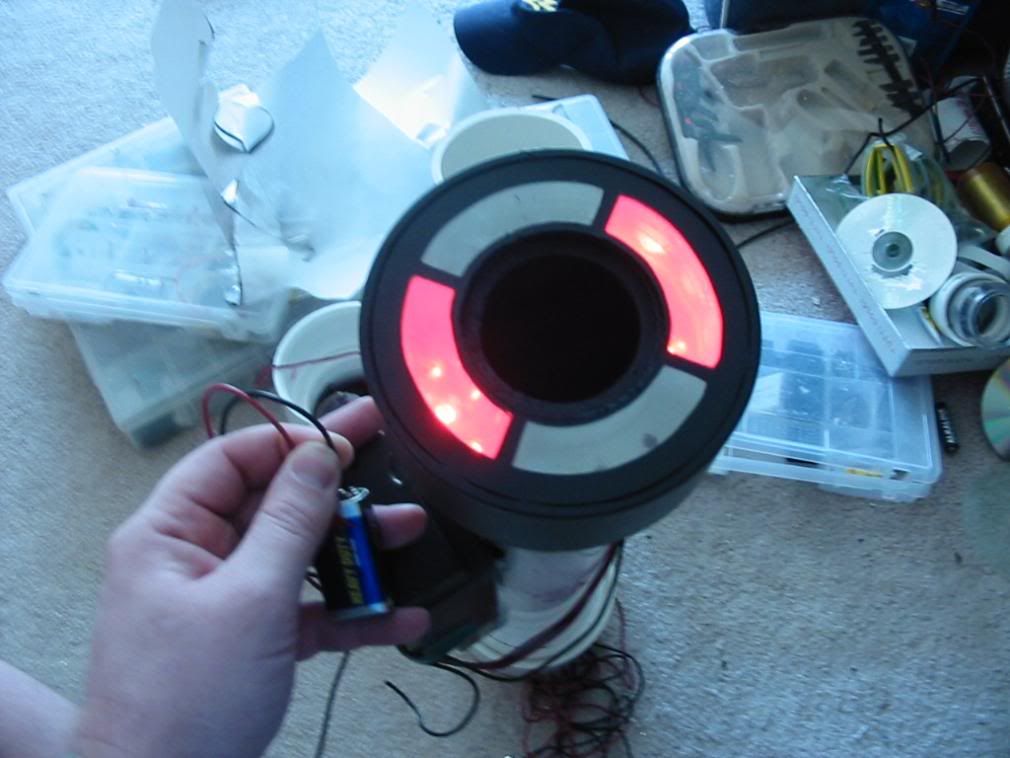
with red l.e.d. on
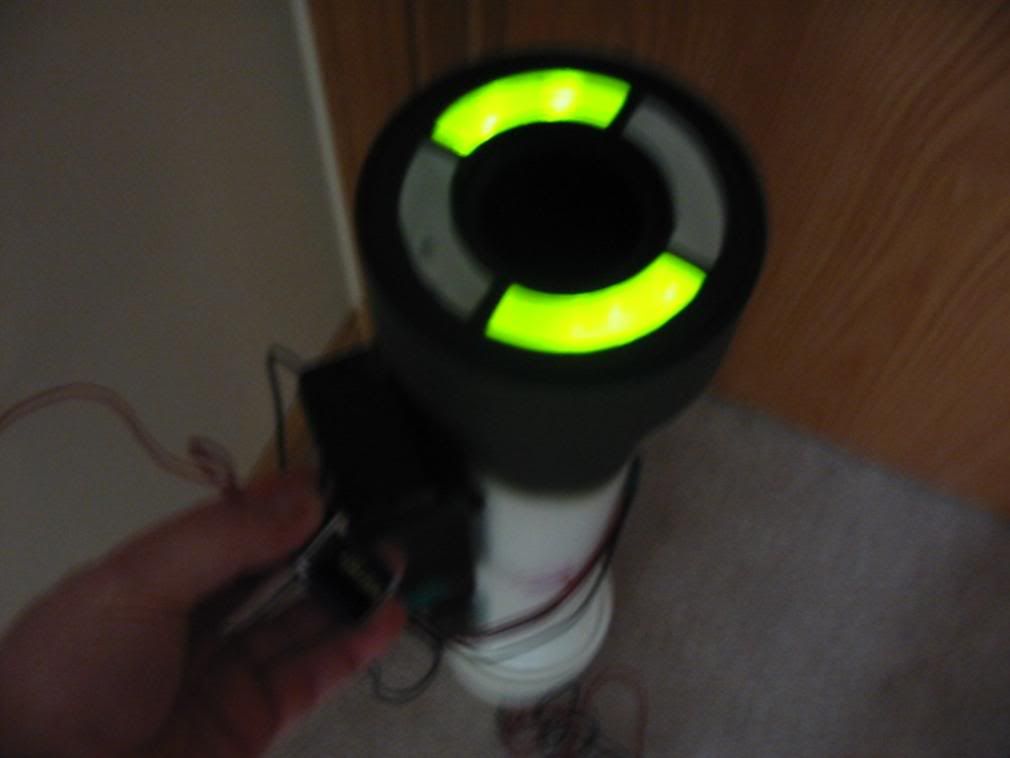
with green l.e.d. on
 with both on
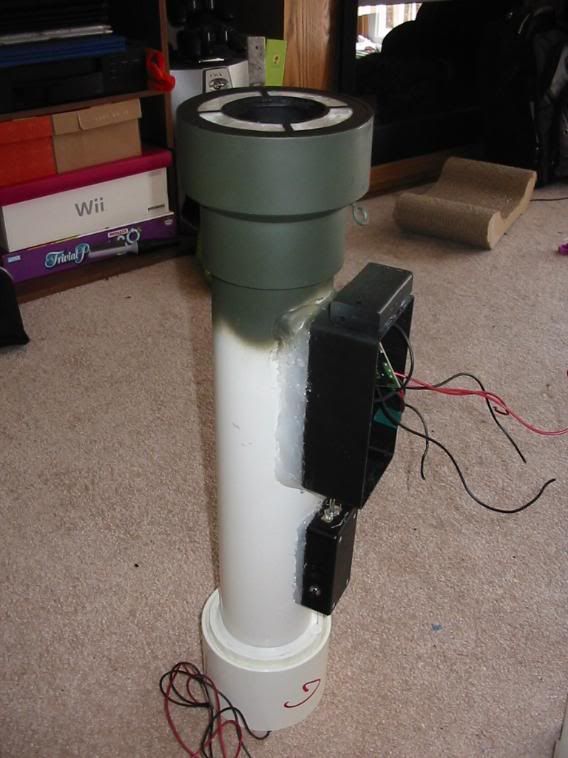 here is what it looks like now..
 did you like the lense how to? what do you think?
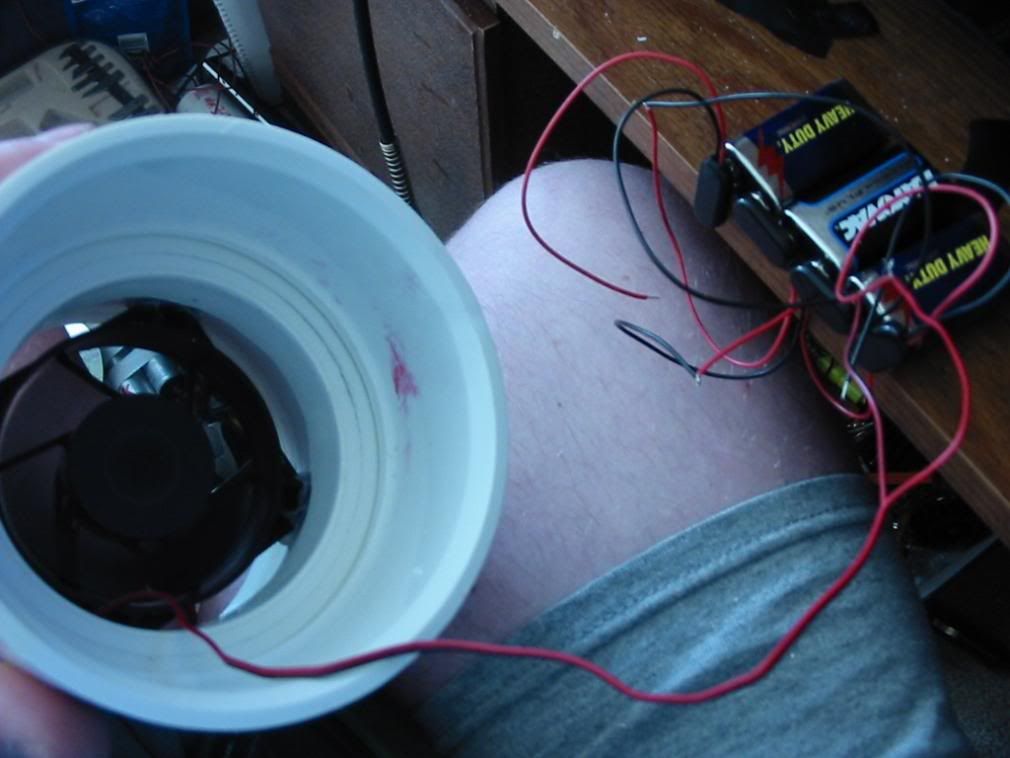
testing my exhaust fan.. see it running?
anwayss. .what yall think so far?
-
Jared Haehnel

- Corporal 2

- Posts: 611
- Joined: Tue Feb 19, 2008 4:15 pm
- Location: White River Jct, Vermont
Thats some awesome craftmanship...Its really coming along it will be interesting to see how it preforms... keep use posted 8)
My current projects....
Currently buying part for...
http://www.spudfiles.com/forums/my-new- ... rt,15.html
Still on the drawing board...
C02 tank hybrid
Screen doors for submarines...
Currently buying part for...
http://www.spudfiles.com/forums/my-new- ... rt,15.html
Still on the drawing board...
C02 tank hybrid
Screen doors for submarines...
-
scottcrete
- Specialist 3
- Posts: 332
- Joined: Tue Mar 18, 2008 1:26 am
- Location: Bridgeport, West Virginia USA
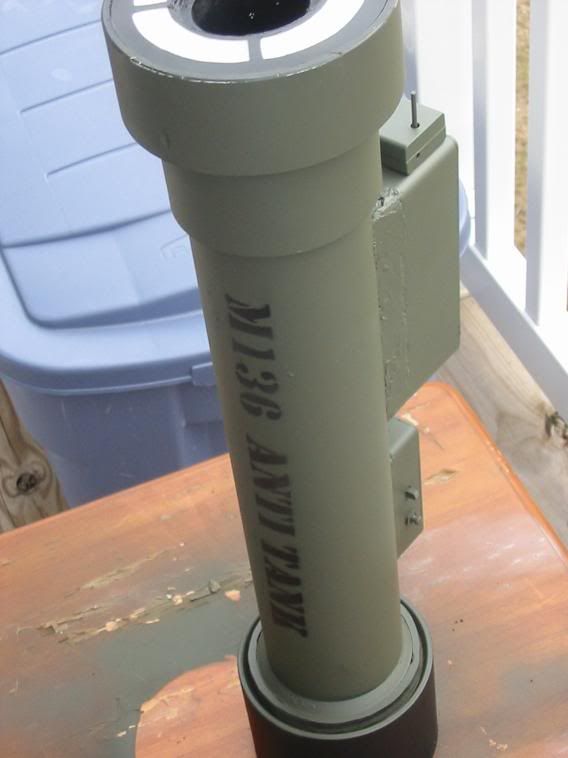
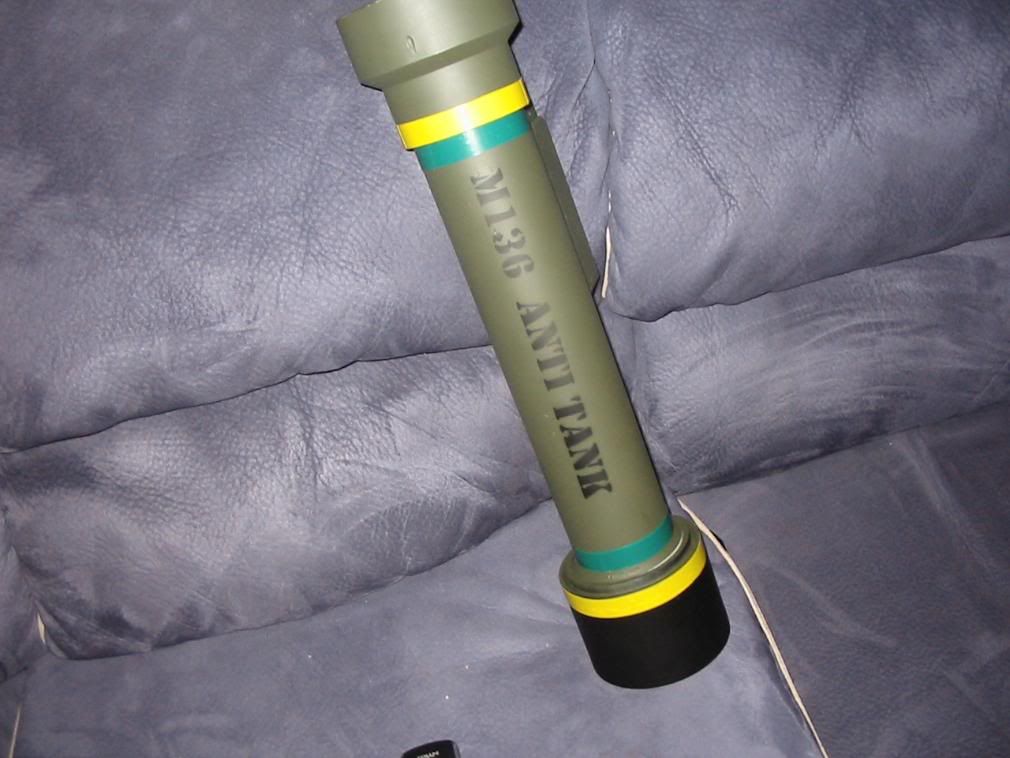
here is an update on the at4.. please leave me feedback on what you think.. weather good or bad.. let me know what you think honestly..
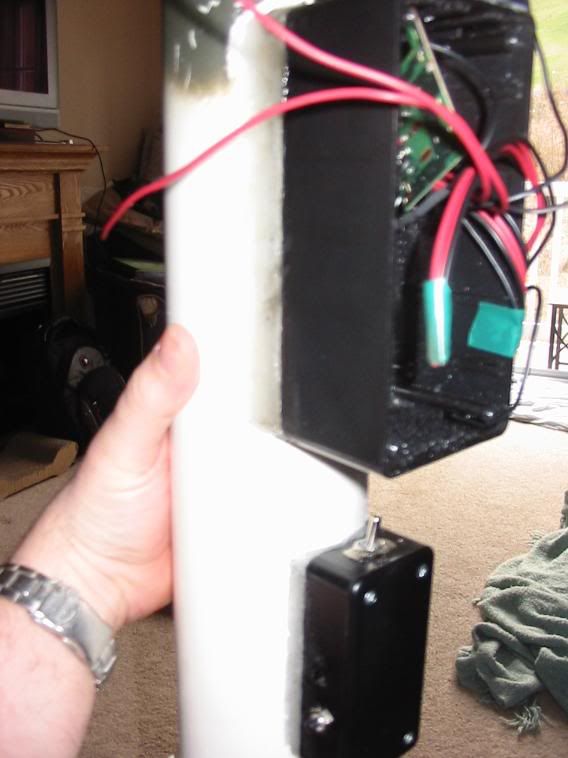
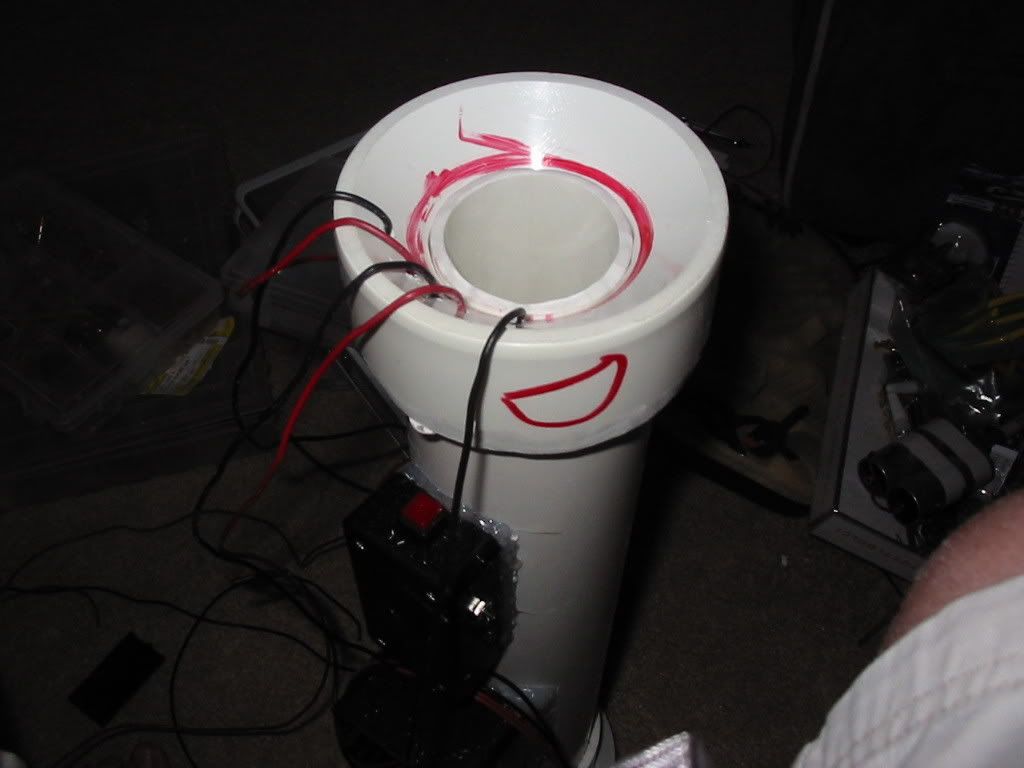
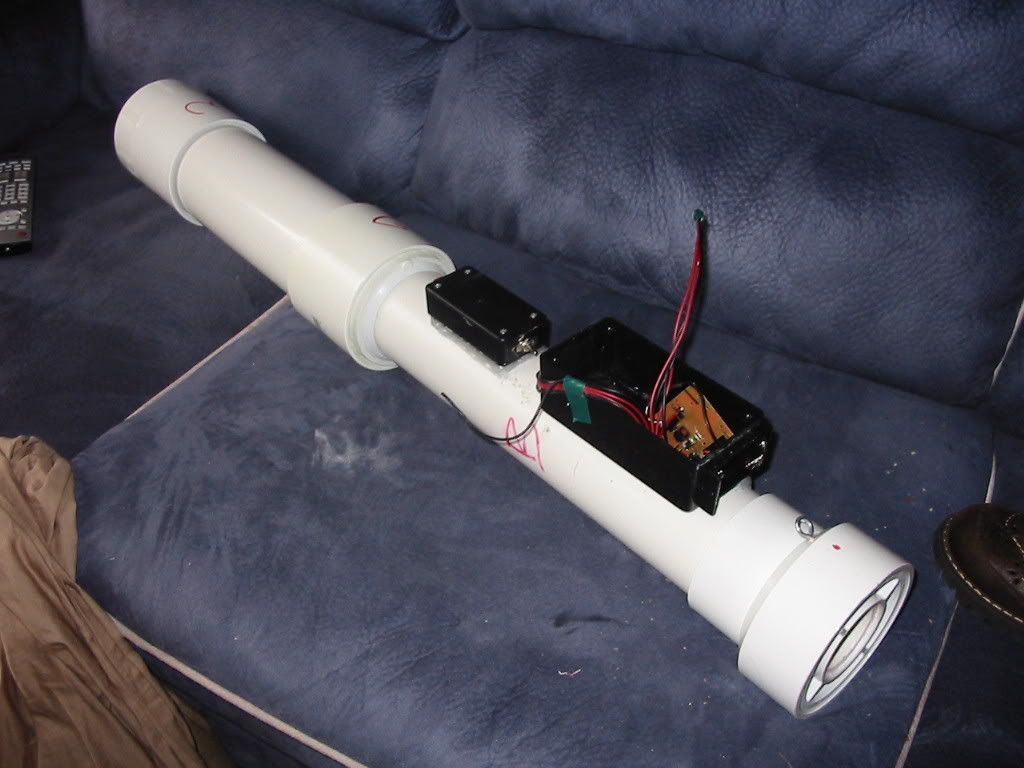
this is the way i mounted my boxes.. to the pvc.. with hot glue.. it melted into the outer barrel really well
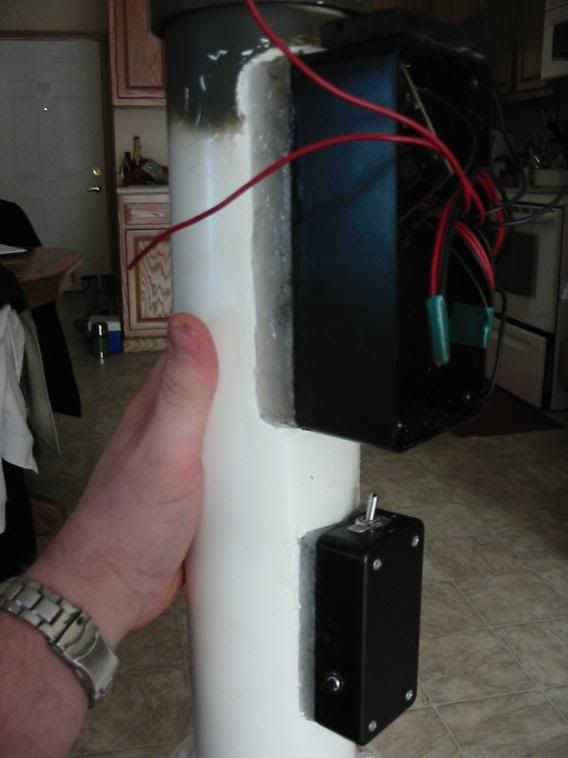
here is another view.. not really that horrible
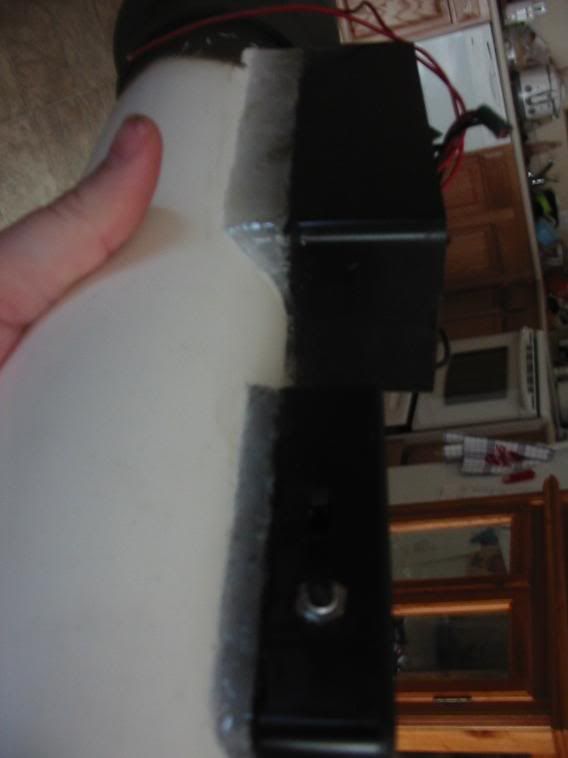
after sanded and shitt you can see how it forms
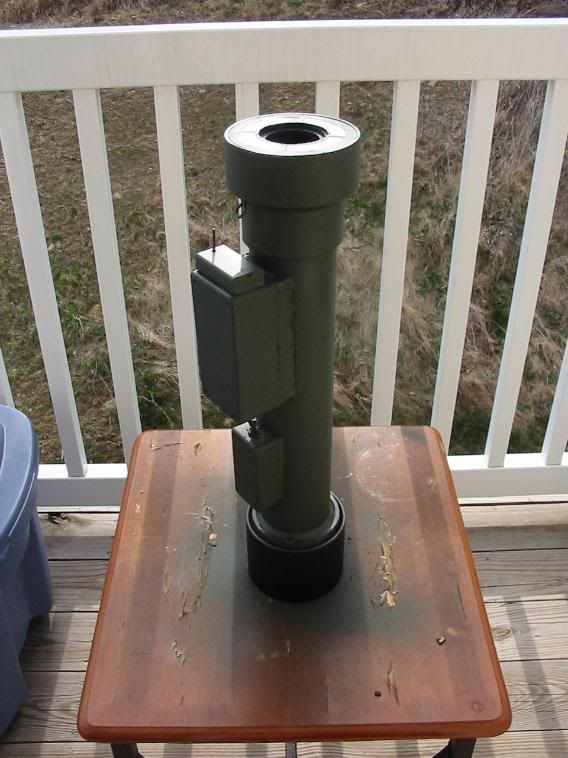
now to the paint booth.. and the glue will be covered by stickers if you were wondering
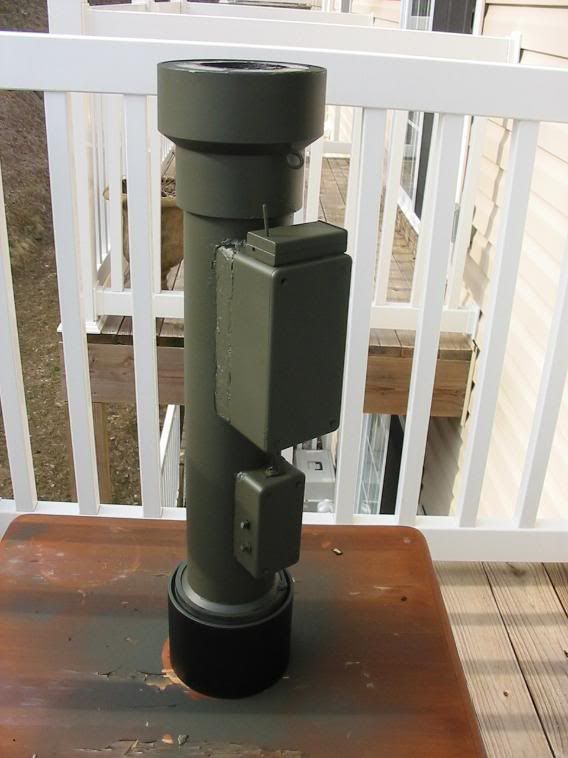
now adding some graphics.. remeber this is only part of the gun.. no chamber has been installed yet
another pic
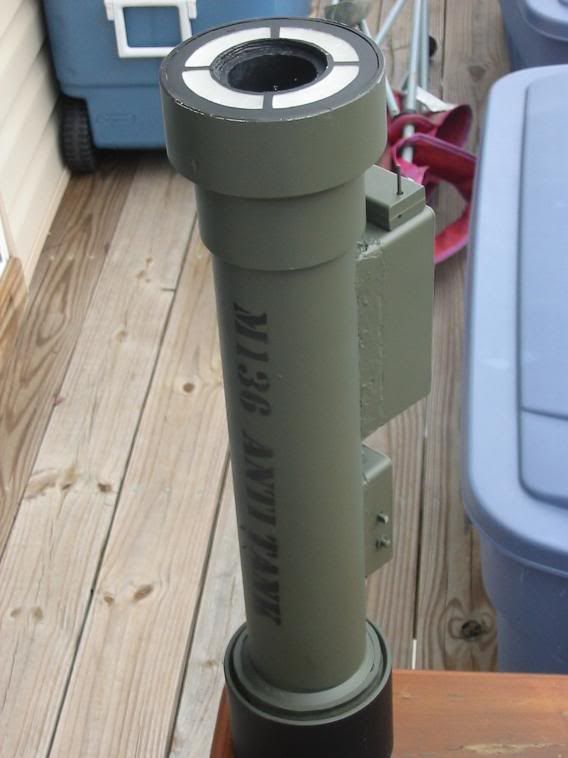
antoehr pic
adding the base layer of tape.. i will use a real plastic tape later for this on top of these so that it does not bleed through.. but all i had was electric tape now.. and i will use the same color plastic tape later
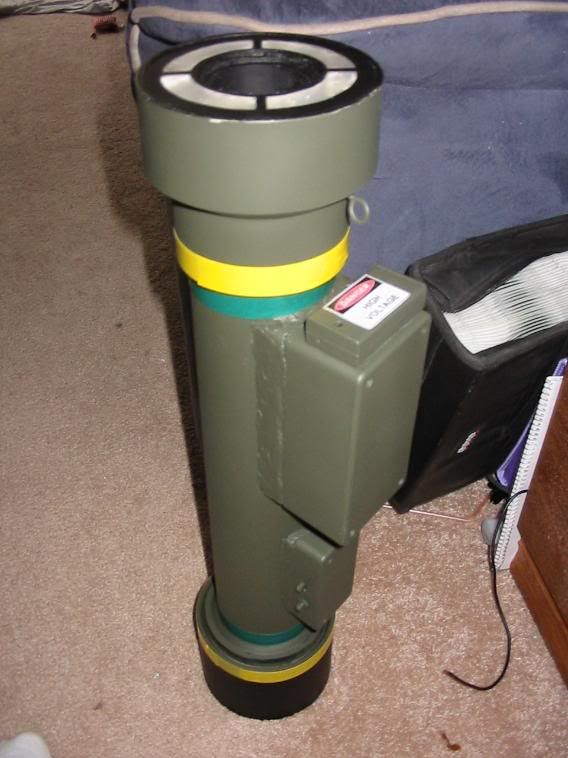
notice my sticker i made.. high voltage on my double aa batterys
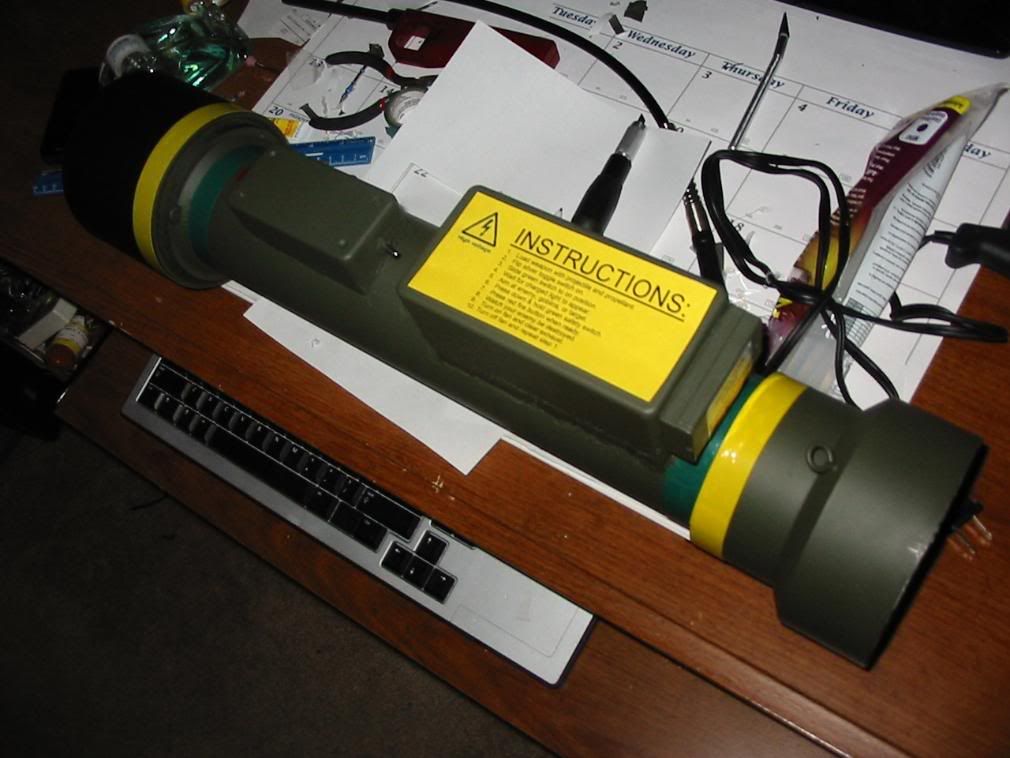
my instruction pic i made
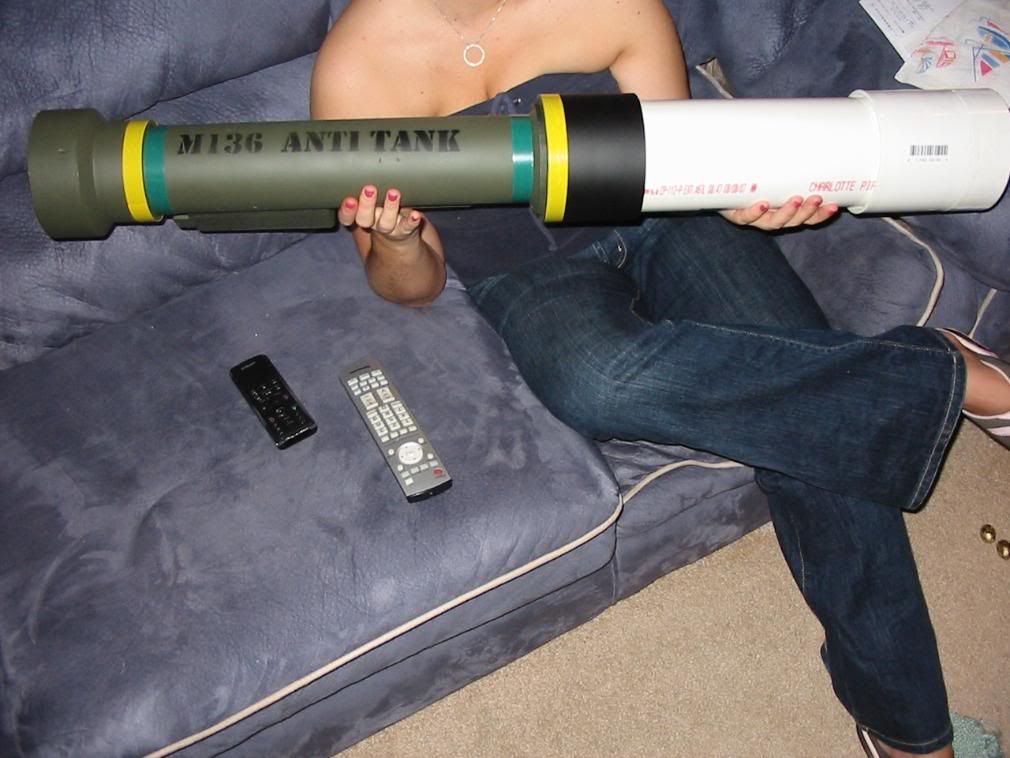
myh girl holding it totally.. the lentgh it wiil be when finished
antoerh pic of it
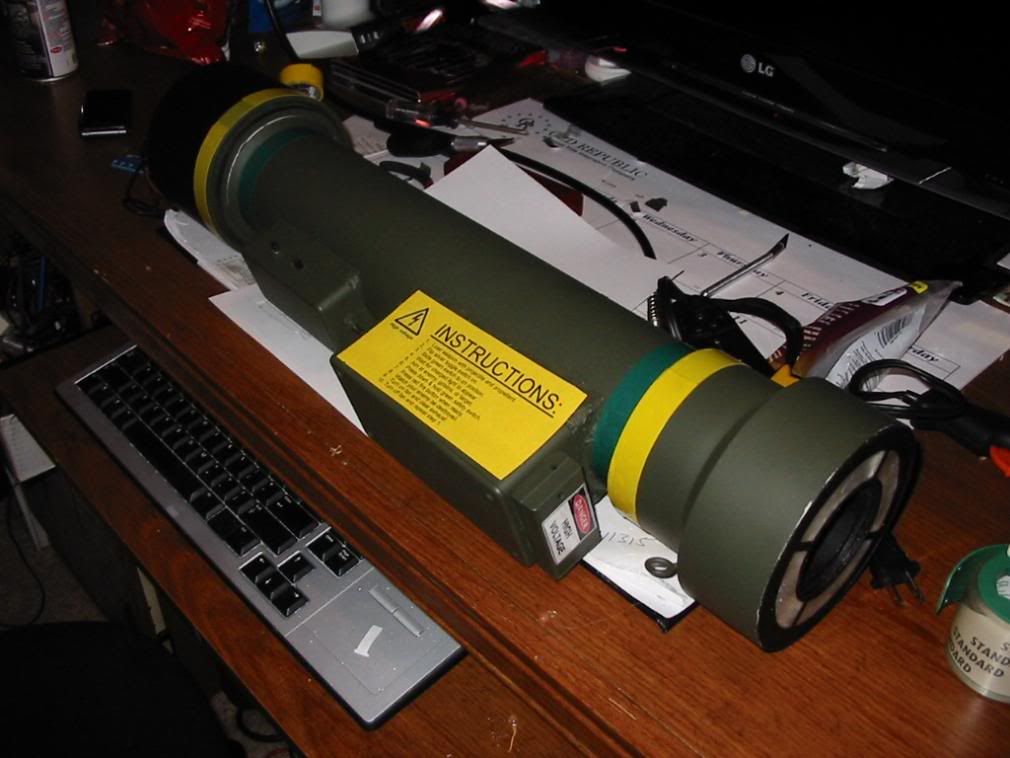
okay guys.. thats the update.. so what did you think.. of course it will hav emore stickers on it and stuff. but that is all i had done up to this point.. after letting the paint dry and stuff.. so
let me hear your comments.. good or bad.
this is the way i mounted my boxes.. to the pvc.. with hot glue.. it melted into the outer barrel really well
here is another view.. not really that horrible
after sanded and shitt you can see how it forms
now to the paint booth.. and the glue will be covered by stickers if you were wondering
now adding some graphics.. remeber this is only part of the gun.. no chamber has been installed yet
another pic
antoehr pic
adding the base layer of tape.. i will use a real plastic tape later for this on top of these so that it does not bleed through.. but all i had was electric tape now.. and i will use the same color plastic tape later
notice my sticker i made.. high voltage on my double aa batterys
my instruction pic i made
myh girl holding it totally.. the lentgh it wiil be when finished
antoerh pic of it
okay guys.. thats the update.. so what did you think.. of course it will hav emore stickers on it and stuff. but that is all i had done up to this point.. after letting the paint dry and stuff.. so
let me hear your comments.. good or bad.


-
TurboSuper
- Corporal 5
- Posts: 986
- Joined: Thu Jun 16, 2005 1:44 pm
- Been thanked: 1 time
Daum, that's authentic looking...right down to the warning stickers and such.
Are your instructions from an original AT-4, or are they modified for spudding?
Are your instructions from an original AT-4, or are they modified for spudding?
"If at first you dont succeed, then skydiving is not for you" - Darwin Awards
-
scottcrete
- Specialist 3
- Posts: 332
- Joined: Tue Mar 18, 2008 1:26 am
- Location: Bridgeport, West Virginia USA
stickers i made..lol they talk about killing zombies and goblins and such.. lol... they are for spudding... lol..
Create an account or sign in to join the discussion
You need to be a member in order to post a reply
Create an account
Not a member? register to join our community
Members can start their own topics & subscribe to topics
It’s free and only takes a minute
Sign in
-
- Similar Topics
- Replies
- Views
- Last post
-
- 39 Replies
- 21803 Views
-
Last post by warhead052
-
- 20 Replies
- 7890 Views
-
Last post by Ragnarok
-
- 10 Replies
- 4168 Views
-
Last post by jon_89
-
- 10 Replies
- 3777 Views
-
Last post by Mateo
-
- 16 Replies
- 8551 Views
-
Last post by Legendpilot


