Page 2 of 2
Posted: Tue Nov 29, 2011 4:44 am
by pneumaticcannons
wow very nice

welcome to spudfiles!
looking forward to the damage vids

Posted: Tue Nov 29, 2011 6:08 am
by Fexo180
Bush the pilot side of the qev down to 1/4 and use a simple tyre chuck to pilot the valve.
My wife was having problems firing mine so i simply used a bit of leccy tape to stick a larger ball bearing so it is resting against the chuck valves nipple. made the inny an outy trigger

edit.. ps.. nice build!
Posted: Tue Nov 29, 2011 1:35 pm
by Alex345
Fexo180 wrote:Bush the pilot side of the qev down to 1/4 and use a simple tyre chuck to pilot the valve.
My wife was having problems firing mine so i simply used a bit of leccy tape to stick a larger ball bearing so it is resting against the chuck valves nipple. made the inny an outy trigger
edit.. ps.. nice build!
Thanks
although i can't really visualize what you are trying to say about the pilot valve, probably because of my English, but today i did my first high(er) power test and the extinguisher valve worked flawlessly

AND... Ive got some damage pics for you guys!
But first, the round i used
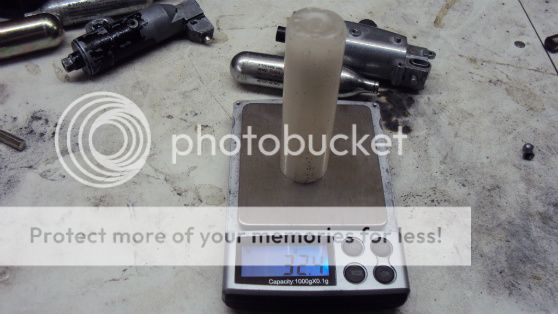
A candle wax slug with a metal projectile inside, all weights are in grams.

The metal projectile was a metal arrow tip filled with lead.

Here you can see the projectile before the was covering it hardened.
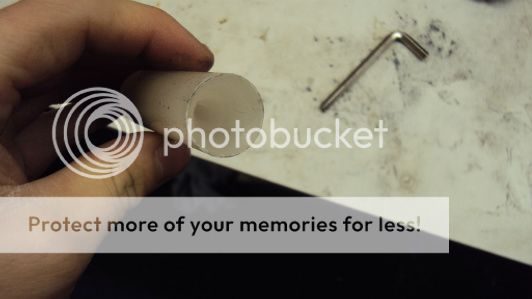
Backside of the round, the "cone" like cavity is naturally formed when the wax hardens
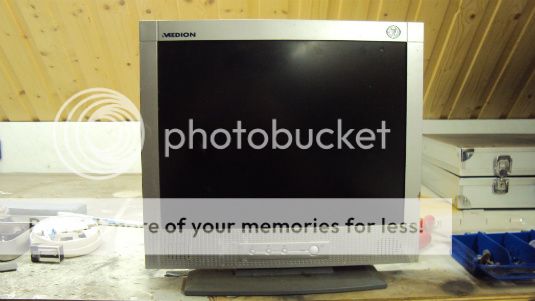
The victim, my old monitor which had suffered the grunt of a BB doing 440fps, ruining the screen. Very hard to see when its off, but when its on its very hard to miss :p
Posted: Tue Nov 29, 2011 1:58 pm
by Alex345
In order to avoid breaking my pressure gauge on my HPA rig, i removed the gauge and screwed in a 1/8 plug. Therefore i had to rely solely on the mini gauge which was on the extinguisher valve


I filled it until the needle went past the green zone and just into the red. So its hard to say if i reached my goal of 20 Bar.
And now for the fun part

Impact!

This pic turned out pretty nice IMO. The hole was about 5cm (Almost 2") in diameter.

Here is the hole with most of the wax removed, you can clearly see that the metal core went its own way after impact.

After removing the plastic panel and a print board from the monitor, the damage caused by the core became clear.
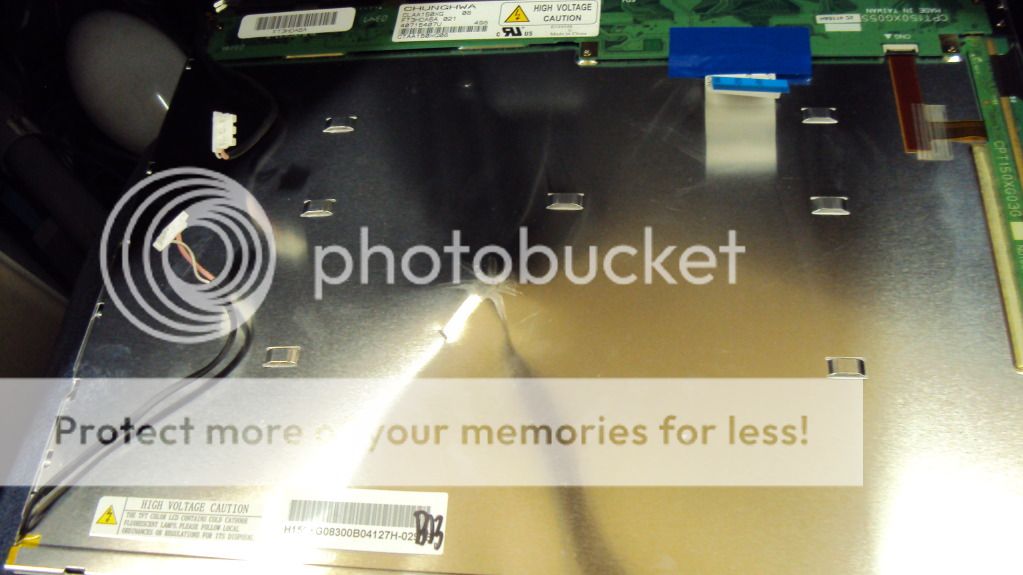
And after removing a metal panel its easy to see that it almost went trough the screen
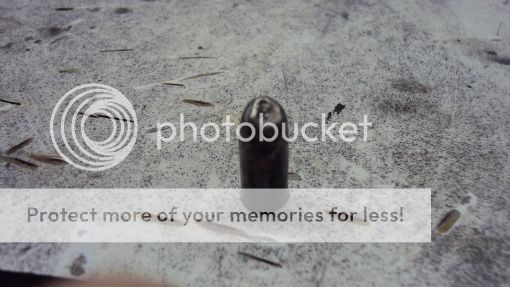
I found the metal core on the ground, don't know if it bounced back out after impact or if it fell out when i was taking the monitor apart.
Well after being stripped of its speakers the whole thing went straight into the garbage bin. It appears that an LCD monitor can be quite tough
But i used a piece of metal filled with lead, whilst my original intent was to use a pointier piece of steel instead, but i'm still very happy with the results^^
Posted: Tue Nov 29, 2011 2:05 pm
by wyz2285
That's the pressure you are using? because I'm trying to find a regulator that's possible to get a output of +-10bar.
I could mod a standard paintball regulator, but I would prefer a factory made one.
Posted: Tue Nov 29, 2011 2:16 pm
by Alex345
wyz2285 wrote:That's the pressure you are using? because I'm trying to find a regulator that's possible to get a output of +-10bar.
I could mod a standard paintball regulator, but I would prefer a factory made one.
I simply use a Palmers regulator, which i use for powering a few airsoft guns, and for now this cannon as well.
I guess there are much cheaper alternatives for getting +-10 Bar.
Posted: Wed Nov 30, 2011 9:13 am
by Fexo180
Posted: Wed Nov 30, 2011 9:20 am
by Fexo180
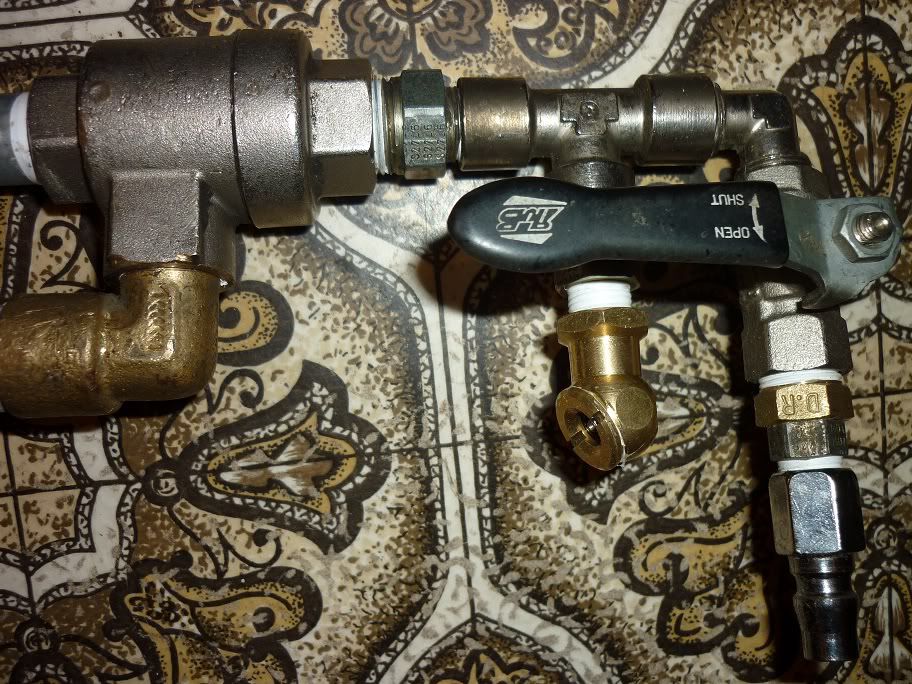
Regulate compressor to desired psi, muzzle load projectile, attach quick connect, open tap until chamber is full, close tap, disconnect air line... point and depress tyre chuck to fire.
Also inside the 1/4 T-piece i have stuffed it with 2 short lengths of nylon tubing to drop the pilot volume, found it made it the trigger very light.
Posted: Wed Nov 30, 2011 9:43 am
by Alex345
Fexo180 wrote:Regulate compressor to desired psi, muzzle load projectile, attach quick connect, open tap until chamber is full, close tap, disconnect air line... point and depress tyre chuck to fire.
Also inside the 1/4 T-piece i have stuffed it with 2 short lengths of nylon tubing to drop the pilot volume, found it made it the trigger very light.
Aha i see now
I was actually thinking of using a solenoid valve to pilot the cannon to get a kind of hair-trigger, But i don't know if those valves open fast enough for that. And the cannon itself is not accurate enough for such an investment IMO.
Posted: Thu May 17, 2012 2:28 pm
by Alex345
Just a little update on this, i recently removed the entire pilot valve "assembly" and replaced it with a solenoid valve to act as the pilot valve. So yes, it is now electronically triggered
It is still in a prototype status, but it works! I wanted to post some pictures but it looks kinda messy because most parts are just taped on the gun because i was still testing the design.
And because the thread is for finished cannons only...