How to: Building an Advanced Micro Combustion.
Posted: Tue Jan 20, 2009 2:59 am
This How to is a multi part, work in progress. This How-to describes how to build this gun here: http://www.spudfiles.com/forums/viewtop ... tml#226999.
I have decided to build another for several reasons, these being:
-A lack of inside/gut photos.
-Not up to my standard of neatness.
-Photos for doing a how to.
-Unhappiness with the fan. (it moved near no air).
So in this, I'm hoping to fix these problems and demonstrate how to build an advanced micro combustion
Part 1: Ignition.
Materials required:
-Small, NON-BRITTLE plastic tube.
-Copper tape or similar. This is commonly used in lead lighting. Basically a flexible copper strip with an adhesive underneath.
-2 small screws or machine screws.
Tools required:
-Scalpel, razor or a very sharp knife.
-Drill (any variation) and a drillbit slightly smaller than your screws.
-Scissors or hacksaw, depending on the strength of the plastic tube you are using.
Method:
Step 1:
After collecting all the required tools and materials, cut your plastic tube into a "C" shape or a "U" shape as you would with a traditional spark strip.
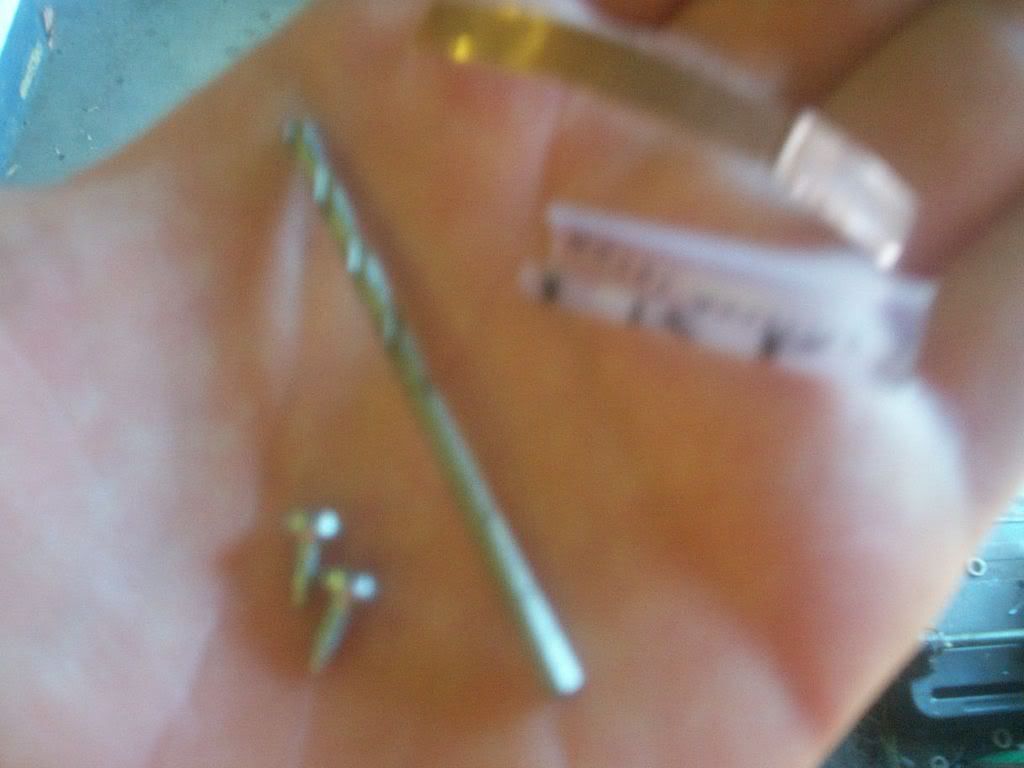
These are the materials being used.
Step 2:
Measure and cut a strip of copper tape that is an equal length to your tube. Stick it on the top (opposite to where the gap of the "C" or "U" is.) and smooth out with a fingernail.
Step 3:
Drill two holes, one in each end of the plastic tube. Try to place them through the middle of the copper tape, and opposite from the gap. Once that is complete take your two screws and thread one into each hole. Only screw them in about halfway!
Step 4:
Take your cutting instrument, and cut VERY THIN gaps in the copper tape. You can place as many as you feel are required. Keep in mind that electricity will ALWAYS take the path of least resistance, and that a sharp point transfers a spark much better. Remember that you only want to cut a slit in the copper tape, and remove a small amount. Don't cut through the tube.
Step 5:
Take two insulated wires OR two wires (insulated) which are already attached side by side. Not sure what that's called. Use a wire stripper or a pair of scissors and remove some insulation from each end. Wrap the wires around the screws, and then tighten them down completely.
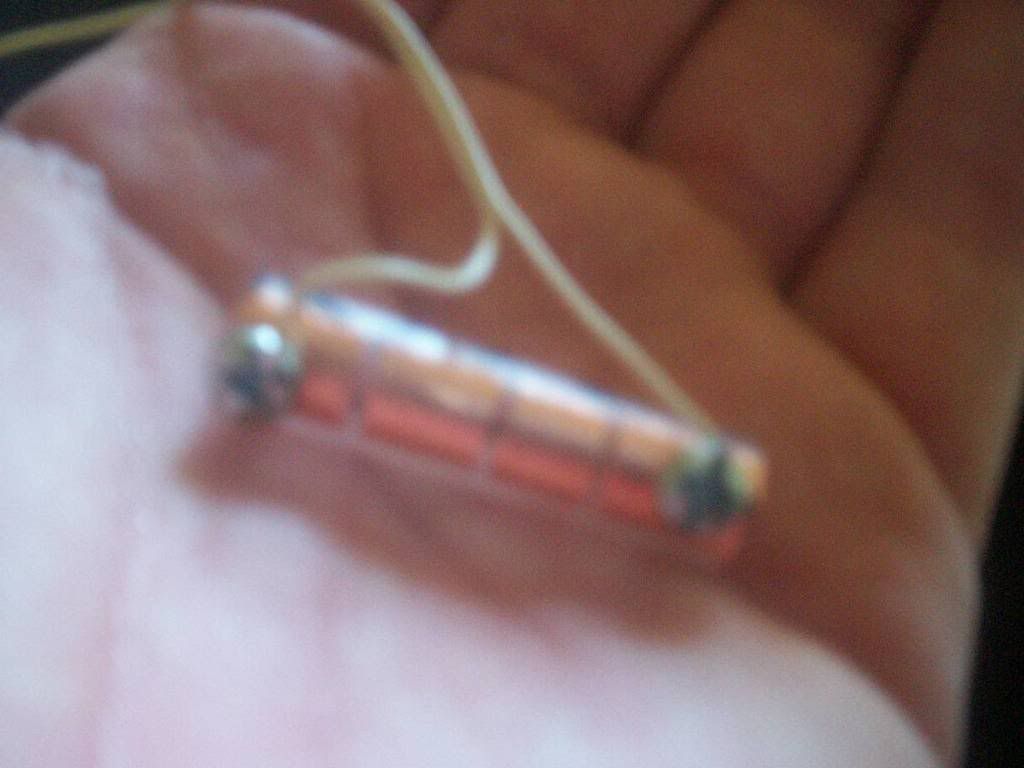
Congratulations, that's the spark strip finished.
Part 2: Fan.
Part 3: Chamber.
Part 4: Fueling and metering.
Part 5: Barrel.
Part 6: Firing.
Part 7: FCU (Fan Control Unit)
This is simply a unit to control the fan. It can be as simple or as complex as you would like to build it. If you're a real electronics whiz you could knock up a timer.
Required:
Battery (batteries).
Switch.
Method of connection to fan.
Optional:
LED to indicate operation (or buzzer)
Fan timer
Banana plugs or similar to attach to fan.

Simple diagram. Labeled for the non-electrically oriented.

Open unit.
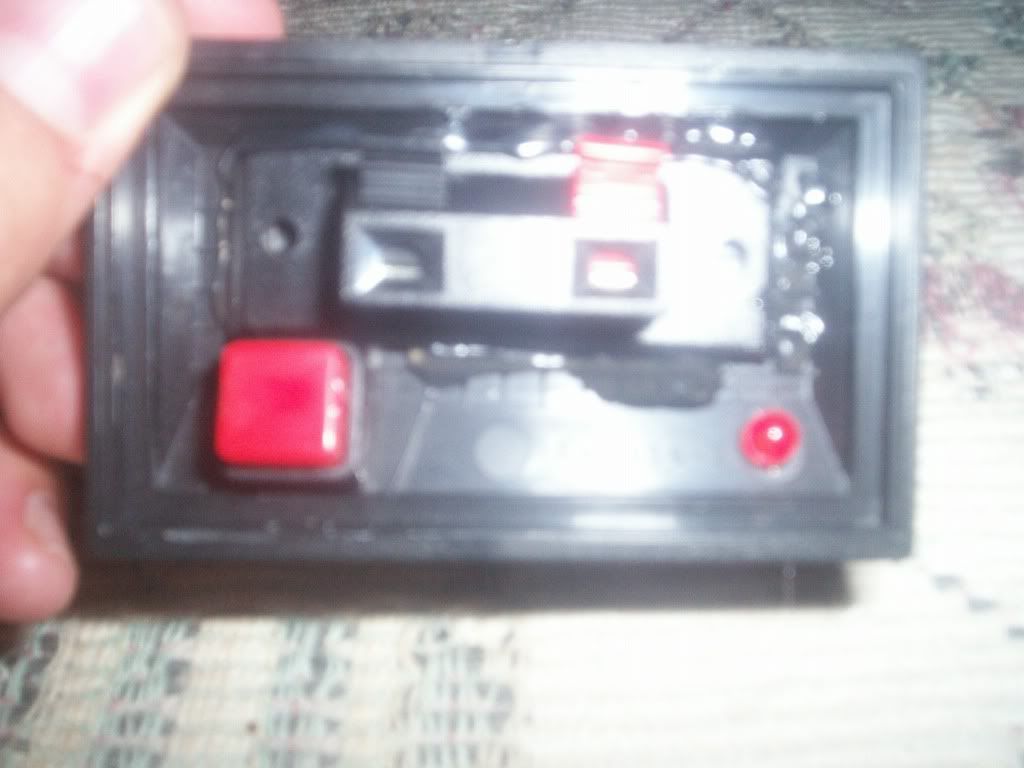
Control panel, push button switch (bottom left), LED (bottom right), plugs to connect to fan, with removability (center).
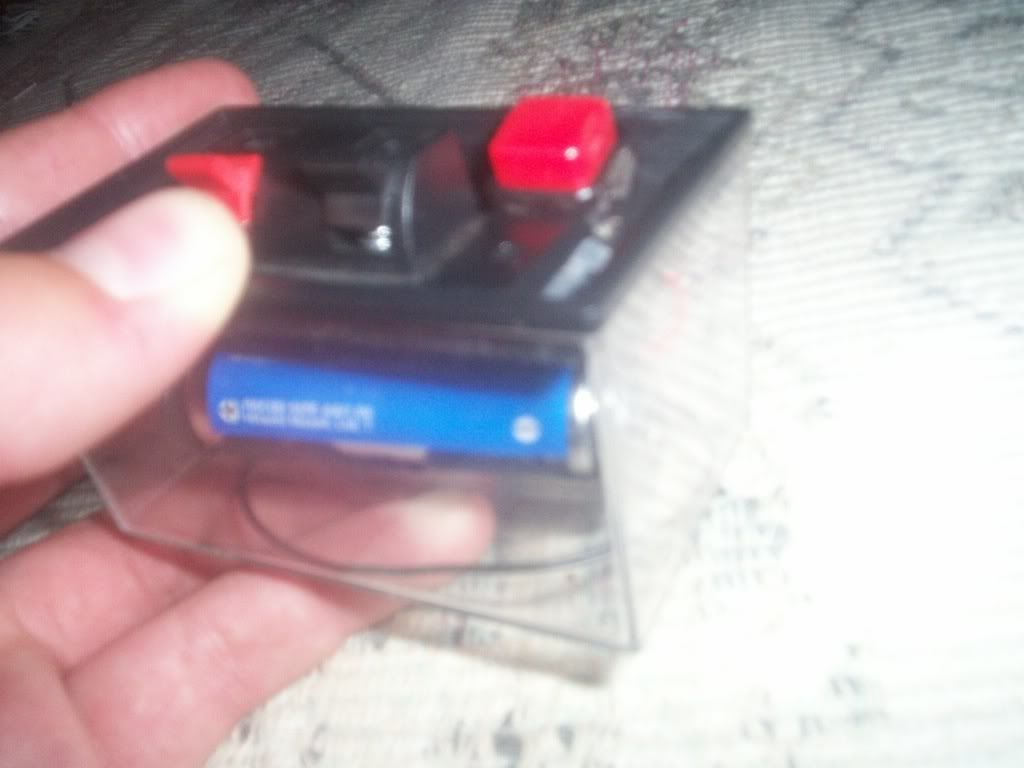
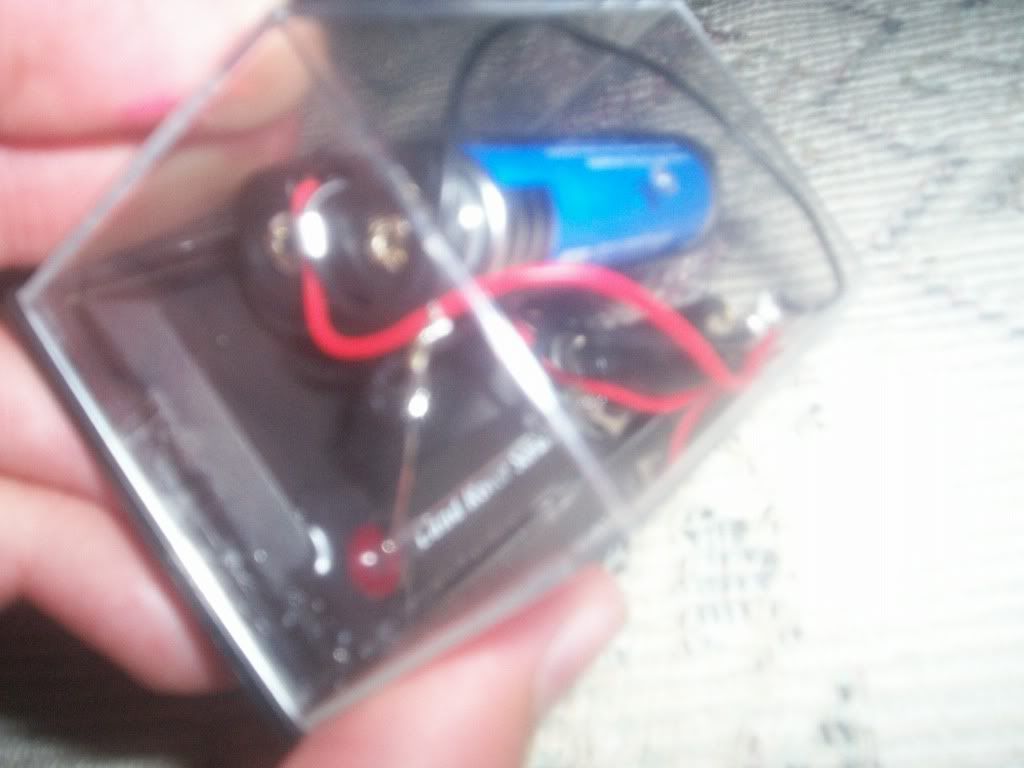
My unit houses two AA batteries (in a cradle), a push button switch (press in = on), a red LED, and two plugs to connect to the fan cables.
Note: You can choose to build separate units for each function (ignition, fan etc) or a single combined unit. I would recommend separate units to prevent shocks from the ignition unit and to prevent confusion.
The construction is up to you
Part : Troubleshooting and Q/A's.
For the sake of the general public I will not use 1337/noobspeak.
Q: Why isn't this guide completed?
A: It's a work in progress, it will be finished as I go along and take photos.
Q: Where do I get ___?
A: http://www.google.com - search it.
Q: Why do some of your pictures suck?
A: My camera is of poor quality and does not take good close up photos. You may have noticed that some of my pictures have been quite good. Those ones have been shot by my parent's camera which is around 10 times as expensive.
I have decided to build another for several reasons, these being:
-A lack of inside/gut photos.
-Not up to my standard of neatness.
-Photos for doing a how to.
-Unhappiness with the fan. (it moved near no air).
So in this, I'm hoping to fix these problems and demonstrate how to build an advanced micro combustion
Part 1: Ignition.
Materials required:
-Small, NON-BRITTLE plastic tube.
-Copper tape or similar. This is commonly used in lead lighting. Basically a flexible copper strip with an adhesive underneath.
-2 small screws or machine screws.
Tools required:
-Scalpel, razor or a very sharp knife.
-Drill (any variation) and a drillbit slightly smaller than your screws.
-Scissors or hacksaw, depending on the strength of the plastic tube you are using.
Method:
Step 1:
After collecting all the required tools and materials, cut your plastic tube into a "C" shape or a "U" shape as you would with a traditional spark strip.
These are the materials being used.
Step 2:
Measure and cut a strip of copper tape that is an equal length to your tube. Stick it on the top (opposite to where the gap of the "C" or "U" is.) and smooth out with a fingernail.
Step 3:
Drill two holes, one in each end of the plastic tube. Try to place them through the middle of the copper tape, and opposite from the gap. Once that is complete take your two screws and thread one into each hole. Only screw them in about halfway!
Step 4:
Take your cutting instrument, and cut VERY THIN gaps in the copper tape. You can place as many as you feel are required. Keep in mind that electricity will ALWAYS take the path of least resistance, and that a sharp point transfers a spark much better. Remember that you only want to cut a slit in the copper tape, and remove a small amount. Don't cut through the tube.
Step 5:
Take two insulated wires OR two wires (insulated) which are already attached side by side. Not sure what that's called. Use a wire stripper or a pair of scissors and remove some insulation from each end. Wrap the wires around the screws, and then tighten them down completely.
Congratulations, that's the spark strip finished.
Part 2: Fan.
Part 3: Chamber.
Part 4: Fueling and metering.
Part 5: Barrel.
Part 6: Firing.
Part 7: FCU (Fan Control Unit)
This is simply a unit to control the fan. It can be as simple or as complex as you would like to build it. If you're a real electronics whiz you could knock up a timer.
Required:
Battery (batteries).
Switch.
Method of connection to fan.
Optional:
LED to indicate operation (or buzzer)
Fan timer
Banana plugs or similar to attach to fan.
Simple diagram. Labeled for the non-electrically oriented.
Open unit.
Control panel, push button switch (bottom left), LED (bottom right), plugs to connect to fan, with removability (center).
My unit houses two AA batteries (in a cradle), a push button switch (press in = on), a red LED, and two plugs to connect to the fan cables.
Note: You can choose to build separate units for each function (ignition, fan etc) or a single combined unit. I would recommend separate units to prevent shocks from the ignition unit and to prevent confusion.
The construction is up to you
Part : Troubleshooting and Q/A's.
For the sake of the general public I will not use 1337/noobspeak.
Q: Why isn't this guide completed?
A: It's a work in progress, it will be finished as I go along and take photos.
Q: Where do I get ___?
A: http://www.google.com - search it.
Q: Why do some of your pictures suck?
A: My camera is of poor quality and does not take good close up photos. You may have noticed that some of my pictures have been quite good. Those ones have been shot by my parent's camera which is around 10 times as expensive.