welcome to spudfiles!
looking forward to the damage vids
Your Potato Cannon Community


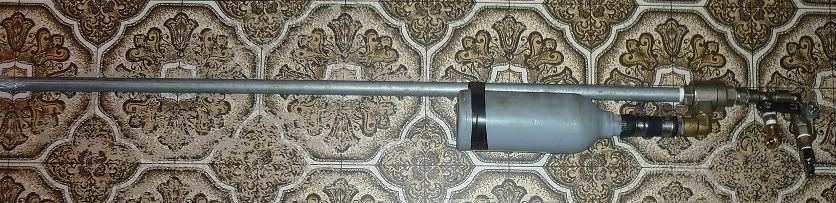
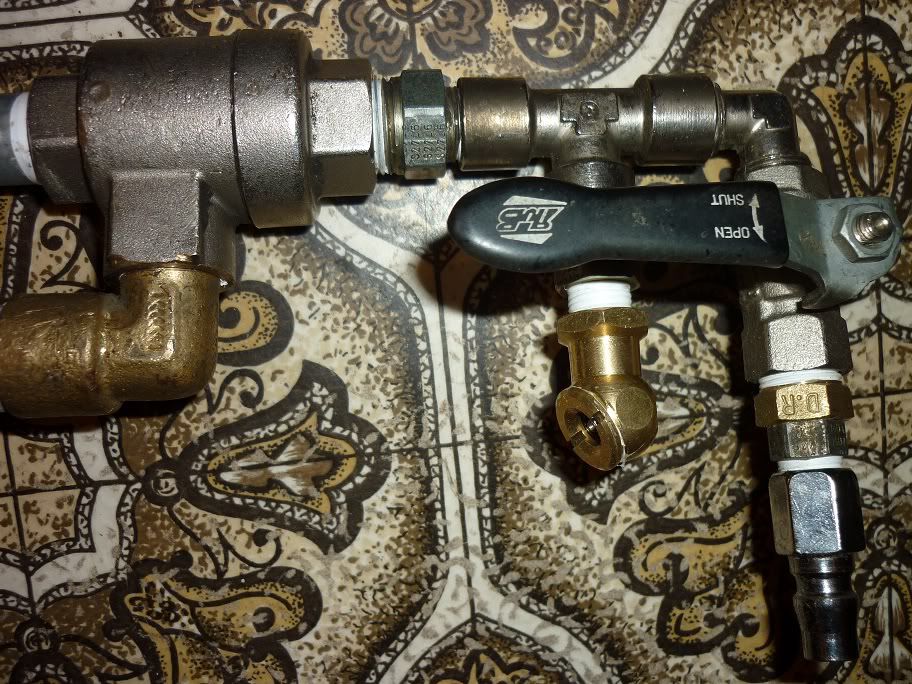
ThanksFexo180 wrote:Bush the pilot side of the qev down to 1/4 and use a simple tyre chuck to pilot the valve.
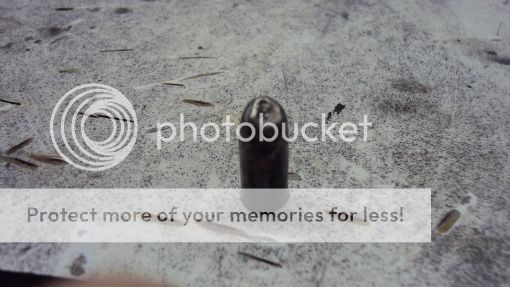
My wife was having problems firing mine so i simply used a bit of leccy tape to stick a larger ball bearing so it is resting against the chuck valves nipple. made the inny an outy trigger
edit.. ps.. nice build!


I simply use a Palmers regulator, which i use for powering a few airsoft guns, and for now this cannon as well.wyz2285 wrote:That's the pressure you are using? because I'm trying to find a regulator that's possible to get a output of +-10bar.
I could mod a standard paintball regulator, but I would prefer a factory made one.
Aha i see nowFexo180 wrote:Regulate compressor to desired psi, muzzle load projectile, attach quick connect, open tap until chamber is full, close tap, disconnect air line... point and depress tyre chuck to fire.
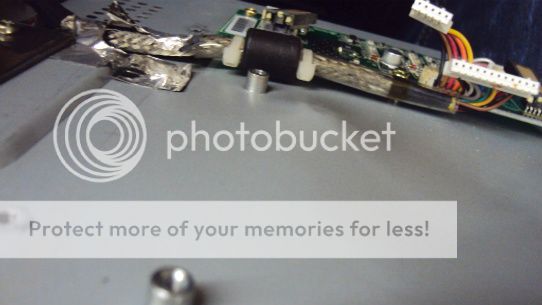
Also inside the 1/4 T-piece i have stuffed it with 2 short lengths of nylon tubing to drop the pilot volume, found it made it the trigger very light.
You need to be a member in order to post a reply
Not a member? register to join our community
Members can start their own topics & subscribe to topics
It’s free and only takes a minute