JANET (sprinkler valve marble gun) (NOT COMPLETED)
-
Pyro Ninja

- Specialist 3

- Posts: 351
- Joined: Mon Oct 09, 2006 7:11 am
- Location: Australia
Nice looking launcher  , what colour are you going to paint it?


-
VH_man

- Staff Sergeant 4

- Posts: 1827
- Joined: Sat Dec 09, 2006 6:00 pm
- Location: New Hampshire
- Been thanked: 1 time
haha thanks for all the replies.
it is named JANET because I thought "this cannon needs a name" and i was listening to "jane" by Jefferson Starship..... lol.
as for the "thermoplastic" stuff, yes that is bondo. It still needs work though its not as smooth as id like.
As for the color i will be painting it, it will be the same color grey as the Barret 14mm, wich happened to be a very good color to give the copper and the black scope contrast.
The rail was made with a scroll saw and a 2X4, then the ends were sanded on a 1 inch drum sander to make it fit nice along the 1 inch barrel shroud, in which then i just superglued it on. it holds EXTREMELY well. better than i expected.
I will post a Paint diagram of the adjustable ammo stop shortly.


-
VH_man
- Staff Sergeant 4
- Posts: 1827
- Joined: Sat Dec 09, 2006 6:00 pm
- Location: New Hampshire
- Been thanked: 1 time
Not a problem in my opinion. You asked a legitimate question.
Here are the cut points:
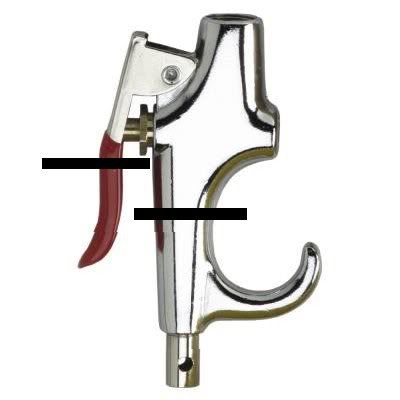
and Here is what it should look like when it is done:
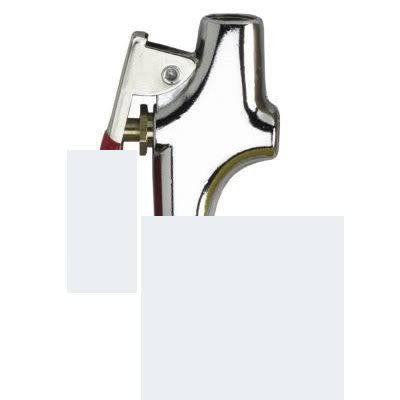
I simply cut a slit out of the front of the pipe so it slid on nicely, and then epoxied the pipe to the blowgun. Hope this helps.
Here are the cut points:
and Here is what it should look like when it is done:
I simply cut a slit out of the front of the pipe so it slid on nicely, and then epoxied the pipe to the blowgun. Hope this helps.
Create an account or sign in to join the discussion
You need to be a member in order to post a reply
Create an account
Not a member? register to join our community
Members can start their own topics & subscribe to topics
It’s free and only takes a minute
Sign in
-
- Similar Topics
- Replies
- Views
- Last post