

Basically, the seal is a way to make a piston valve more compact, and still accessible to service the piston. This can be seen on both the Supah and Mauler valves.
<div align="center">
 </div>
<div align="center">
 </div>
In both these designs, the builders use O-ring grooves to seal the "bulkhead" on the back of the valve in the tee, and then screws to secure it there.
I just (think) I came up with a way to do it without O-rings. Here's the steps:
1.) To do this, there has to be a "lip" in your tee. In mine, I had a piece of 2" pipe that sat halfway in the socket and was ground down to fit inside the rest of the tee.
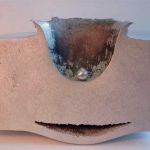
2.) Cut a relatively thick gasket the same I.D. as the inside of the tee, and in a "washer" shape. Air has to travel through the center of the gasket.
3.) Set your tee on the ground with the port the bulkhead will be in facing up. Place the gasket on top of the "lip" in the tee, and then insert the bulkhead on top of the tee.
4.) Apply a heavy weight to the bulkhead to compress the gasket. Use a small piece of 1-1/2" pipe to direct the weight onto the bulkhead and not the tee.
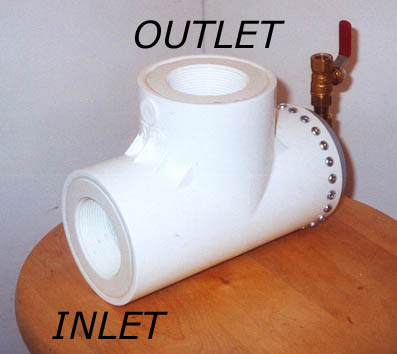
5.) Drill your holes to be tapped for machine screws. I used eight holes evenly spaced around my tee. These holes should obviously go through the tee and the plug.
6.) Tap these holes to the machine thread size you are using.
7.) Wrap your machine screws right under the head with a few wraps of teflon tape. Thread them into the holes in the valve. Tighten in a "lug nut" fashion to ensure even distribution of force.
8.) Remove the weight, and there you have it.
I haven't tested this as of yet (as far as leaking goes), but this is going to be part of my piston valve I'm building, and I did get it done. Take a look at the pictures below. I'm probably still gonna rebuild this valve, though, because I want to use O-rings on the back plug anyways.